Managing Projects: How to Add, Edit, Archive & Clone Projects
This article provides instructions on how to add, edit, archive, and clone your Projects.
Overview
Concord uses Projects as the basic unit of deployment and configuration. This article provides instructions on managing existing Projects. To learn more about how projects work, refer to this article: Projects Overview
From the Global Settings → Projects section in the Admin UI, you will be able to:
- Add new projects.
- Edit existing projects.
- Archive projects.
- Clone existing projects.
How to Add a New Project Domain
-
Click on the Global Settings drop-down menu and choose Projects.
-
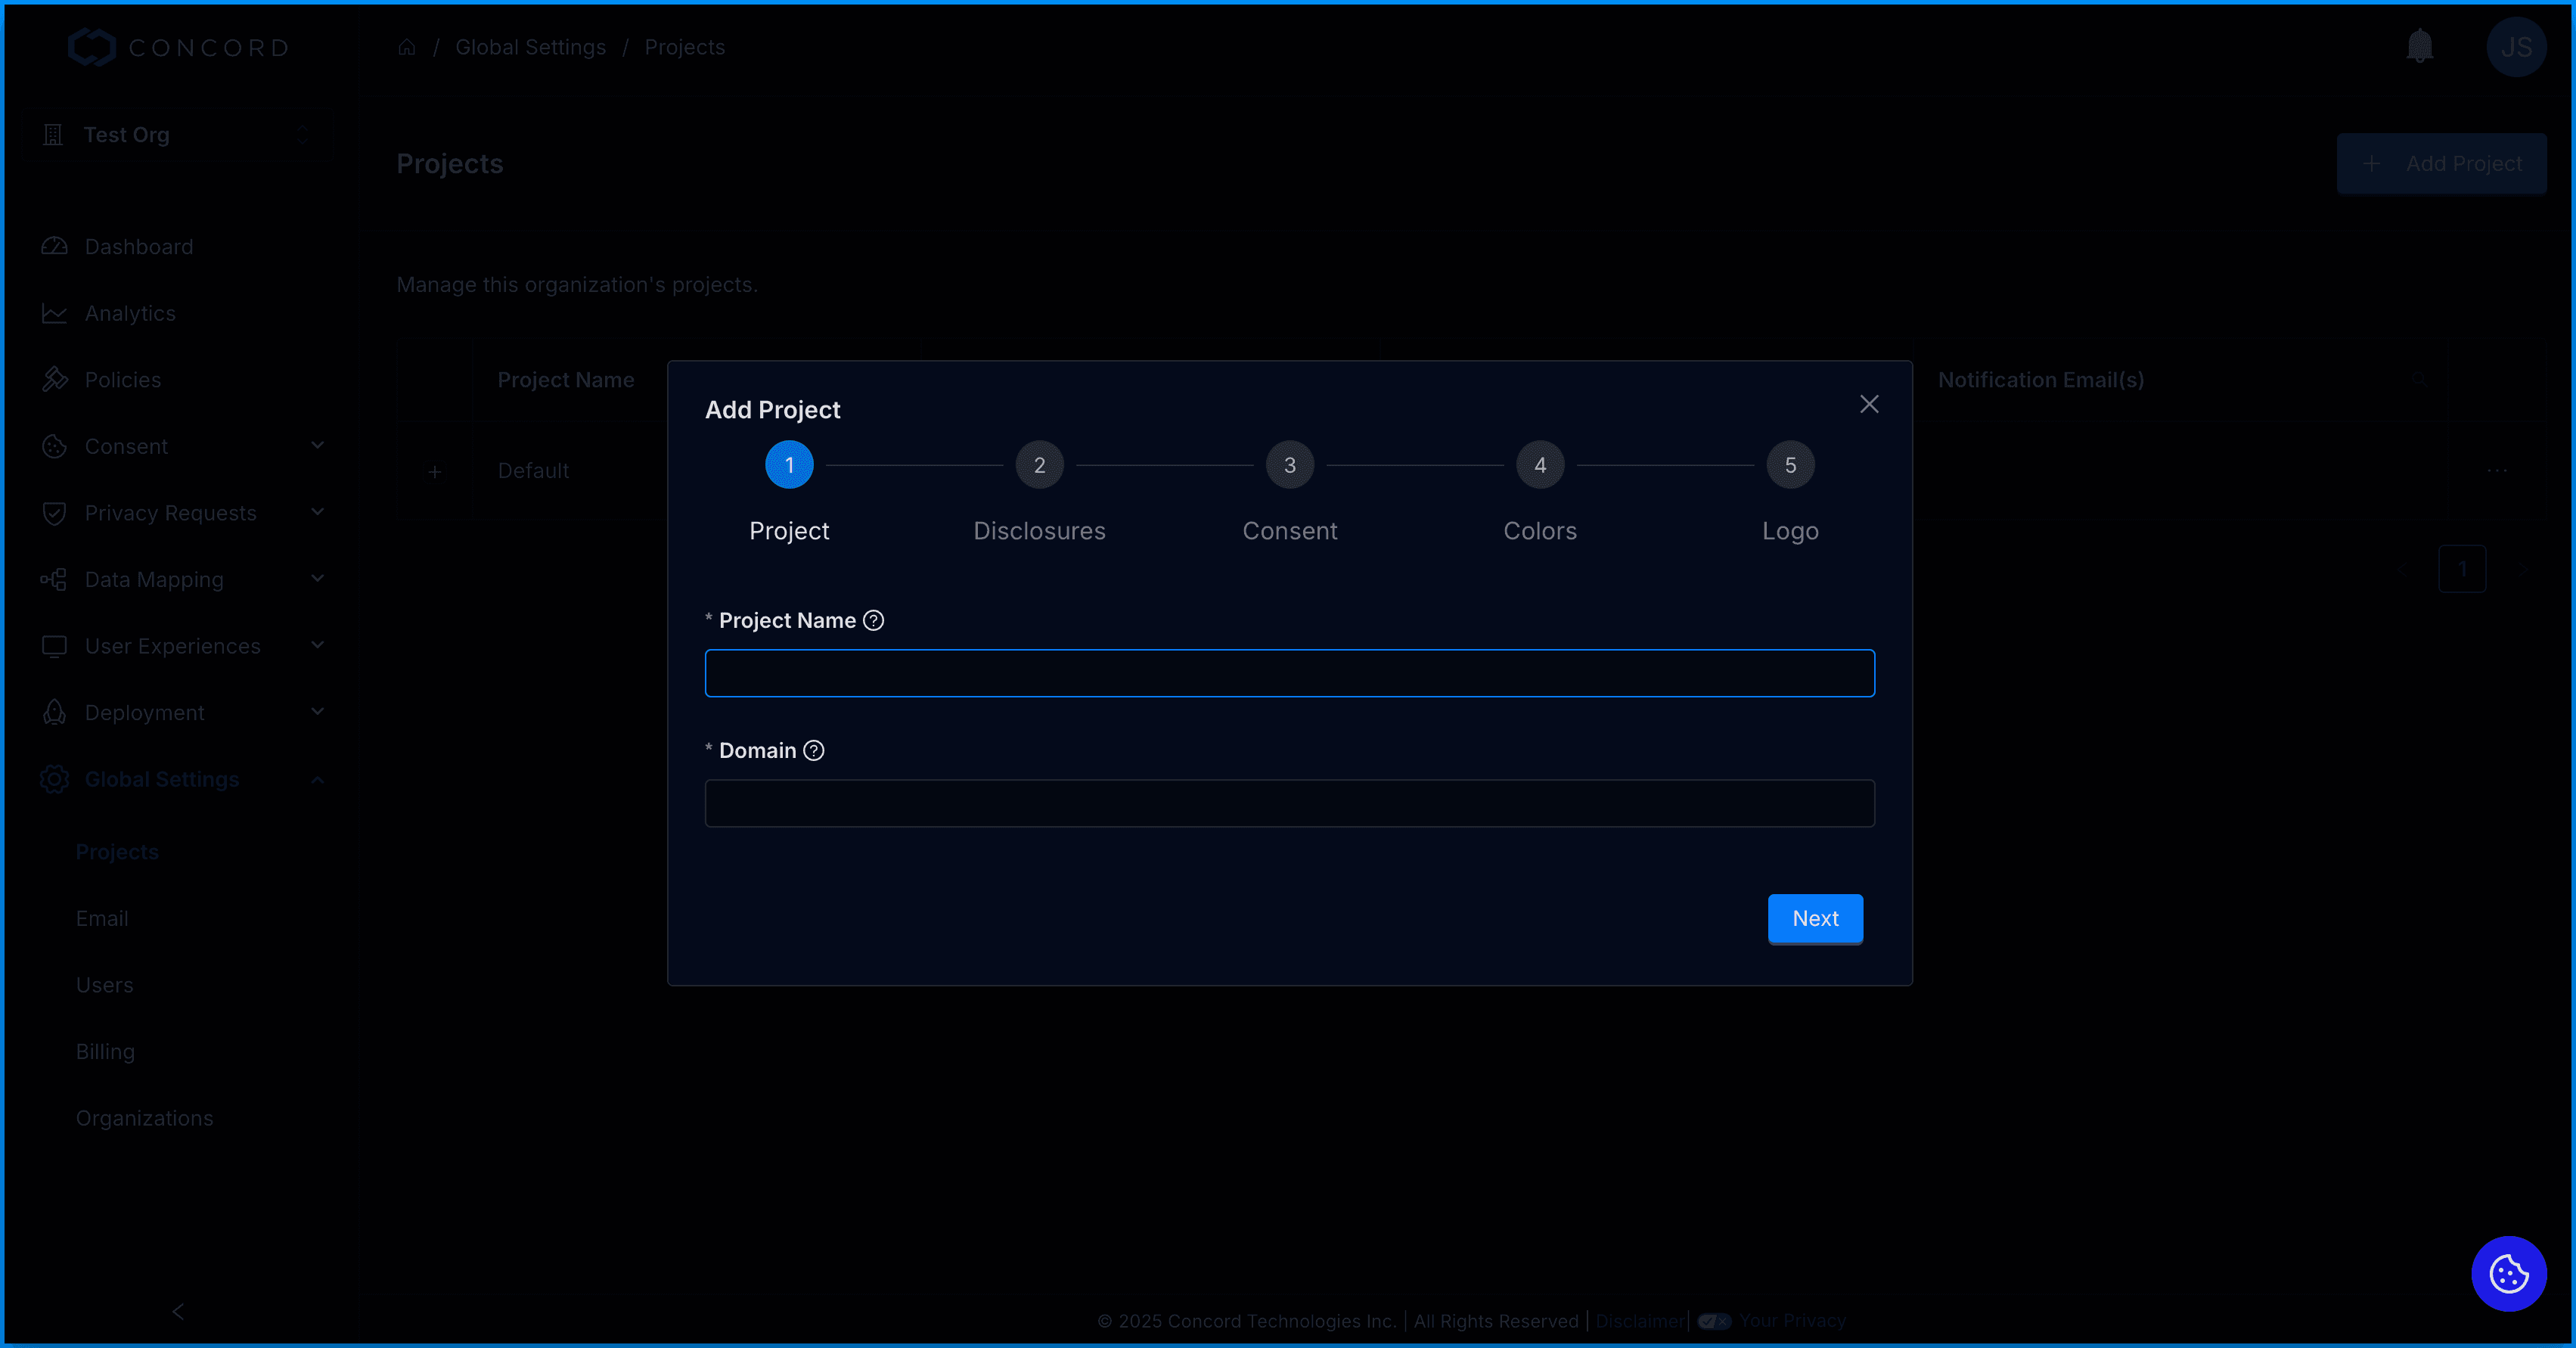
Click Add Project to open the Add Project wizard.
-
On the Project step, enter your Project Name and Domain URL and click Next.
- The UI will confirm if you have entered a properly formatted domain. Do not prepend “http://” or “https://” to your domain.
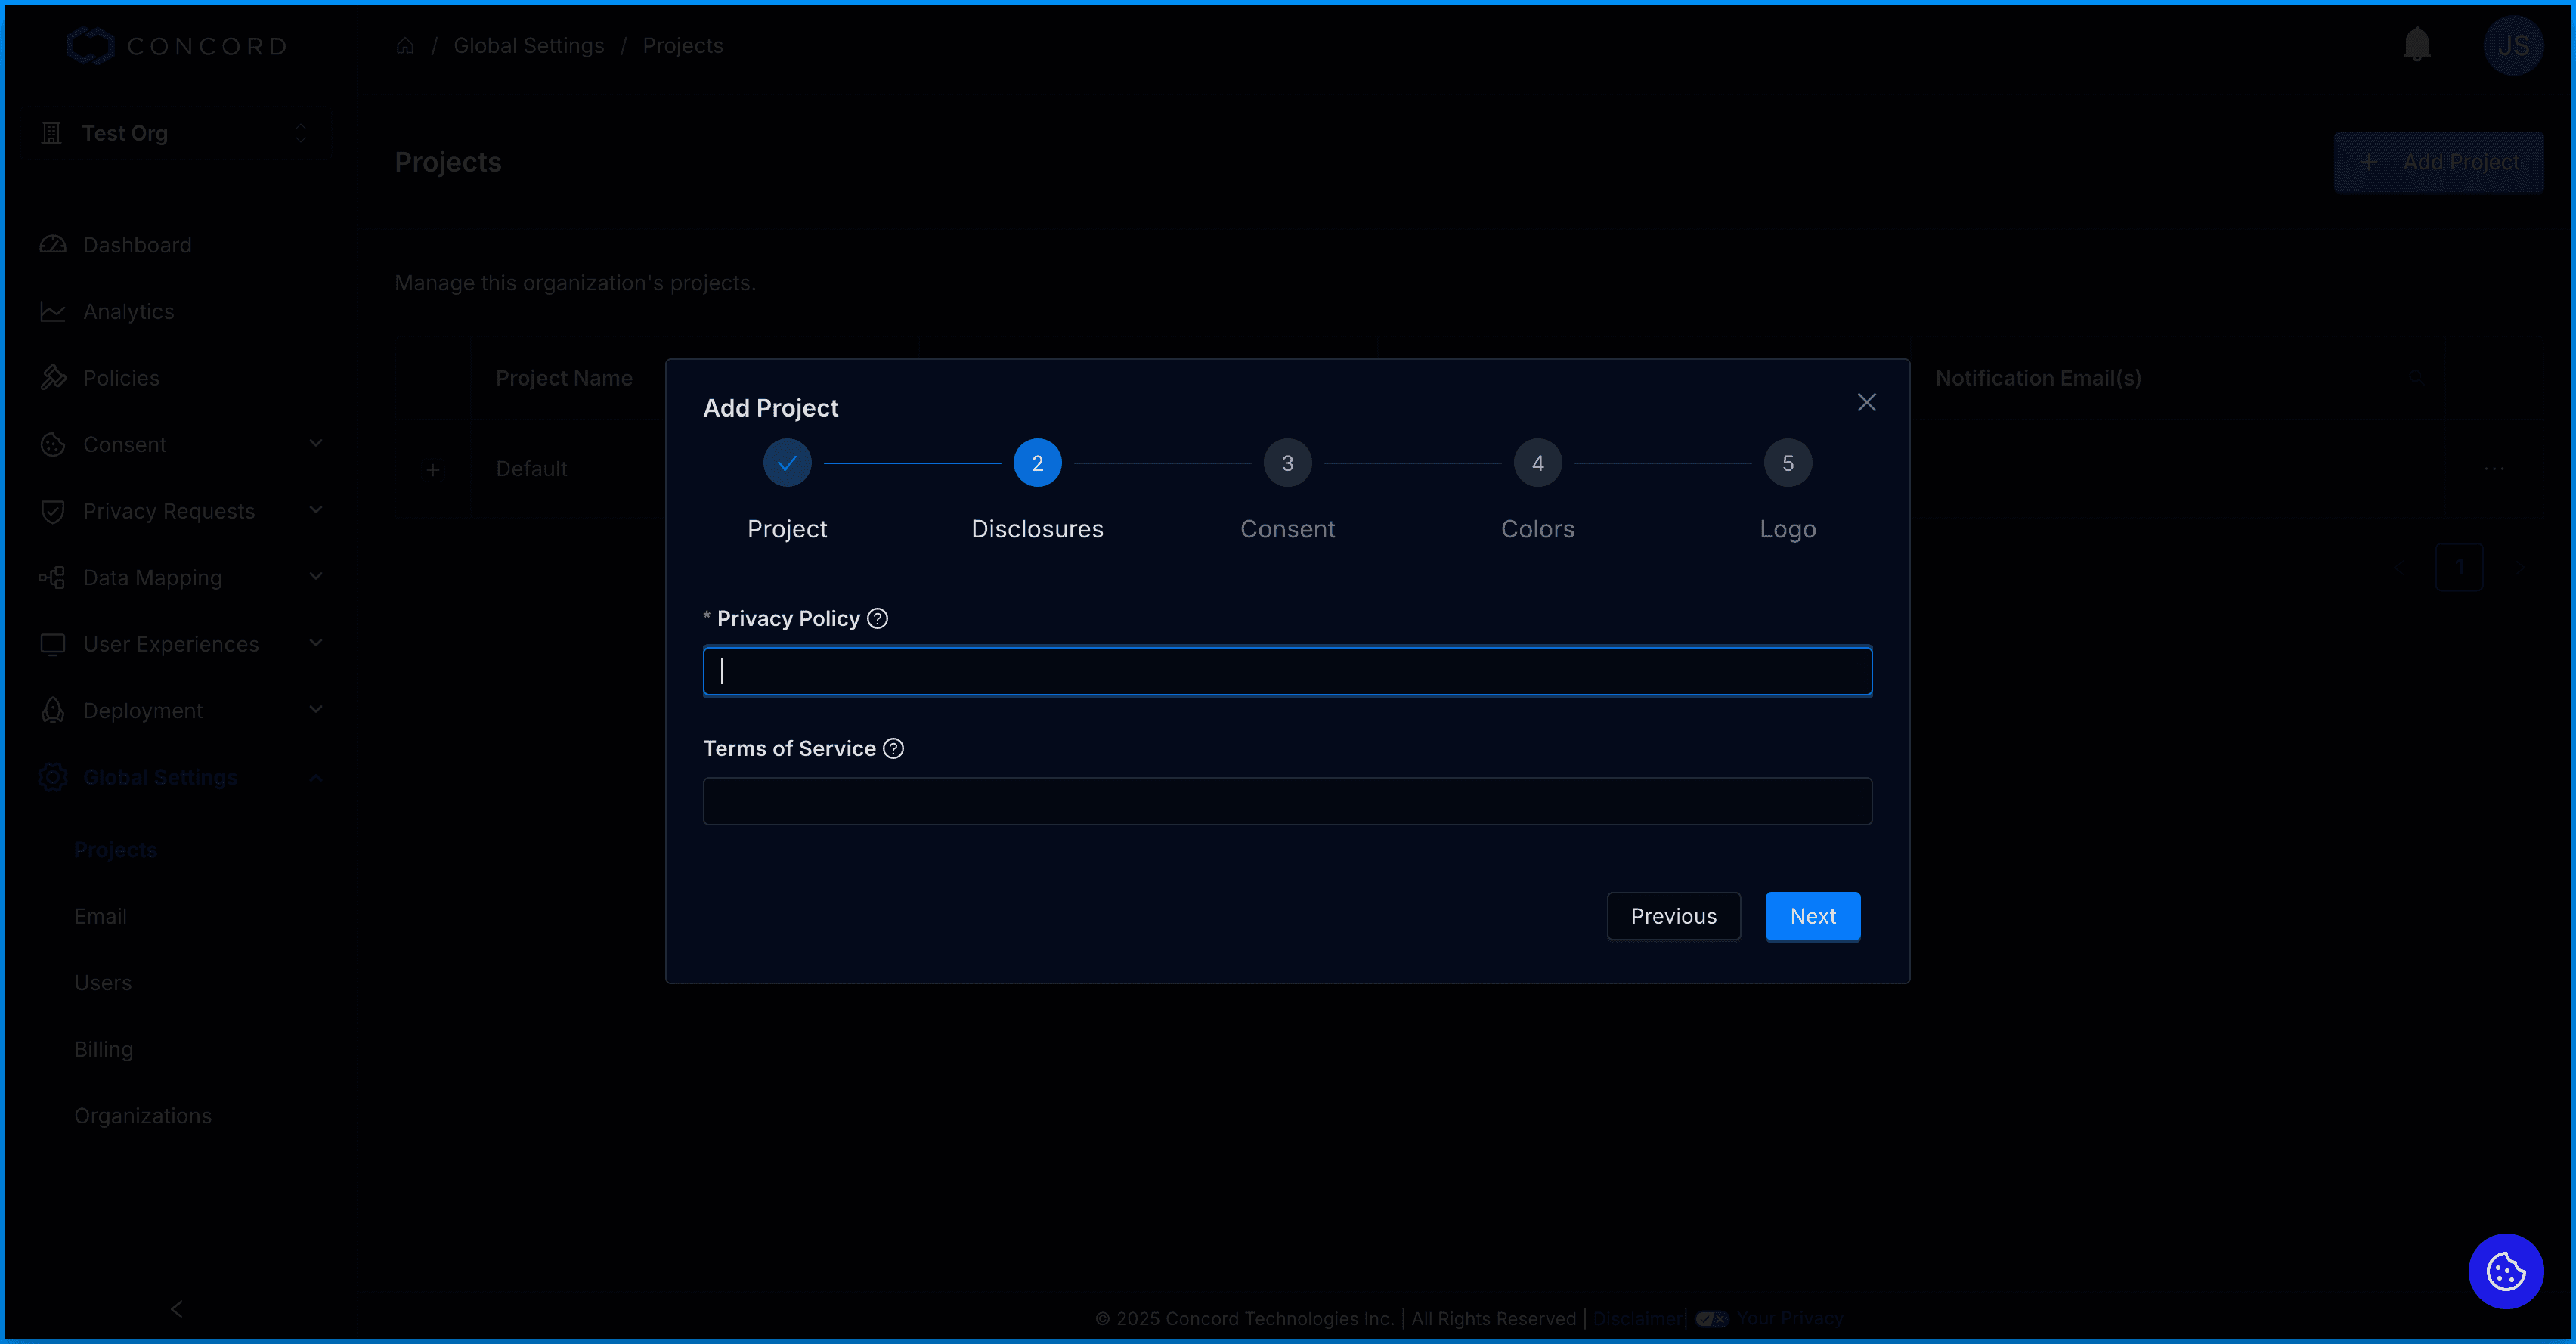
- On the Disclosure step, add the URL for your organization’s Privacy Policy (required) and Terms of Service (optional but recommended if you have a terms of service page).
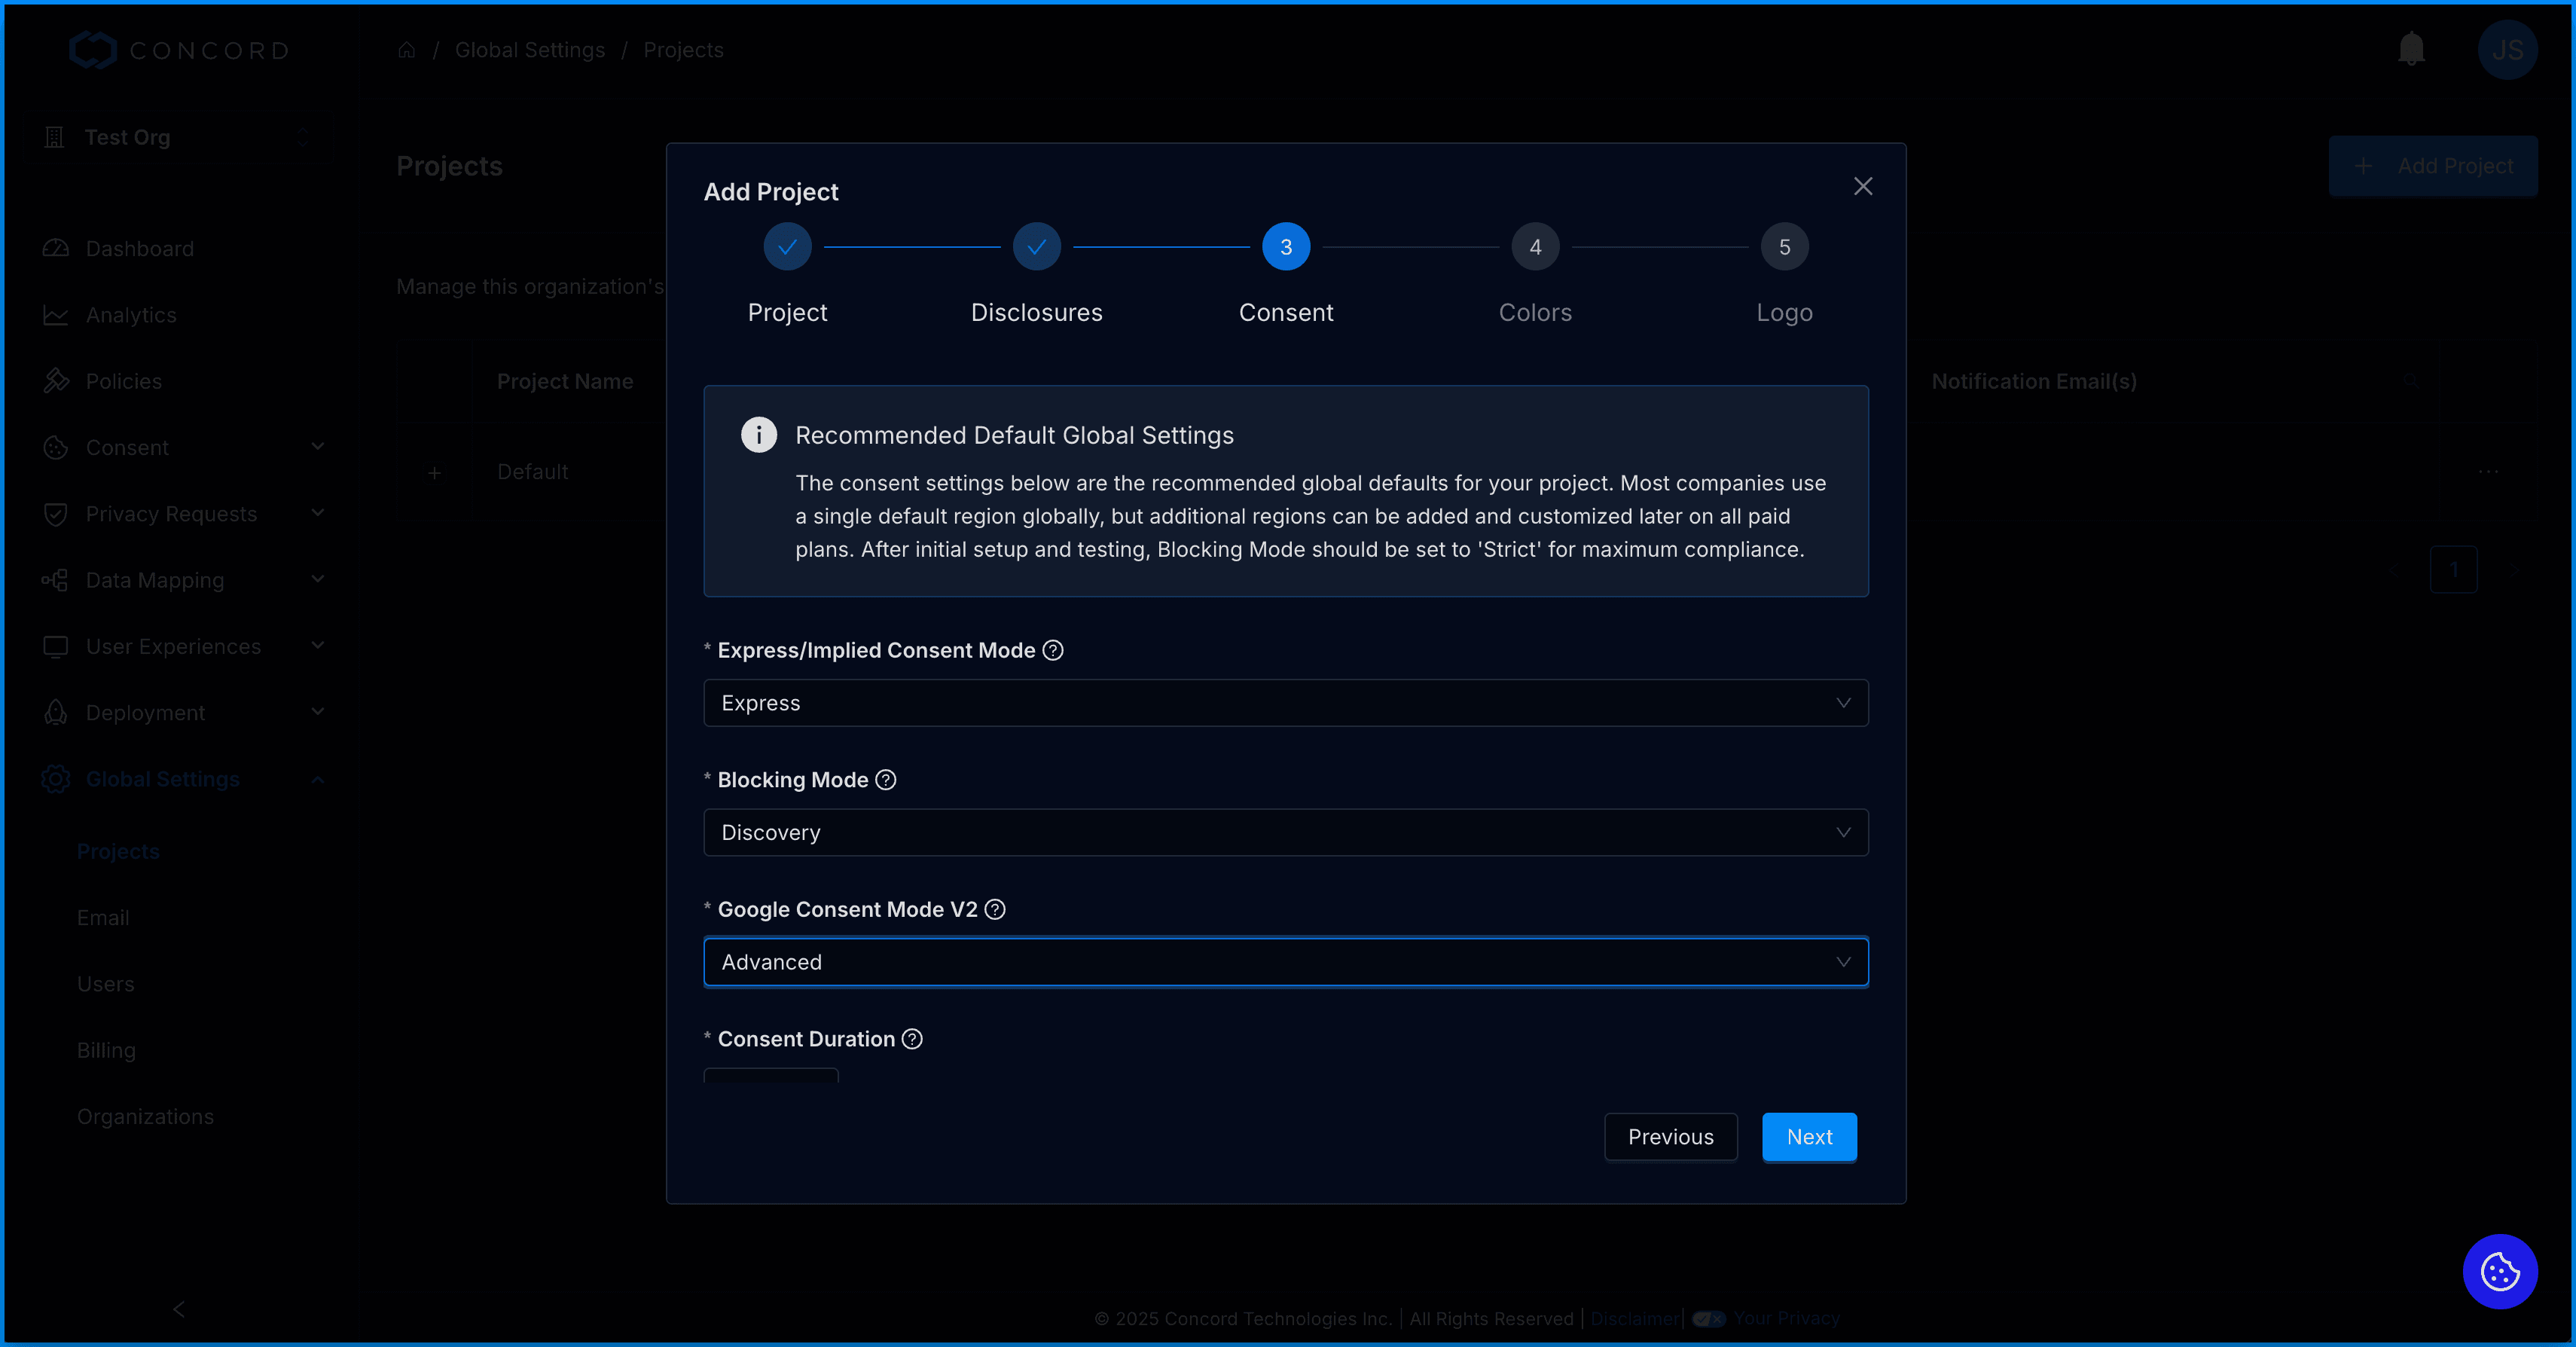
- On the Consent step, configure your organization’s consent settings. For more information on how to configure your consent settings, see this article: /docs/understanding-configuring-auto-blocking-of-cookies-scripts
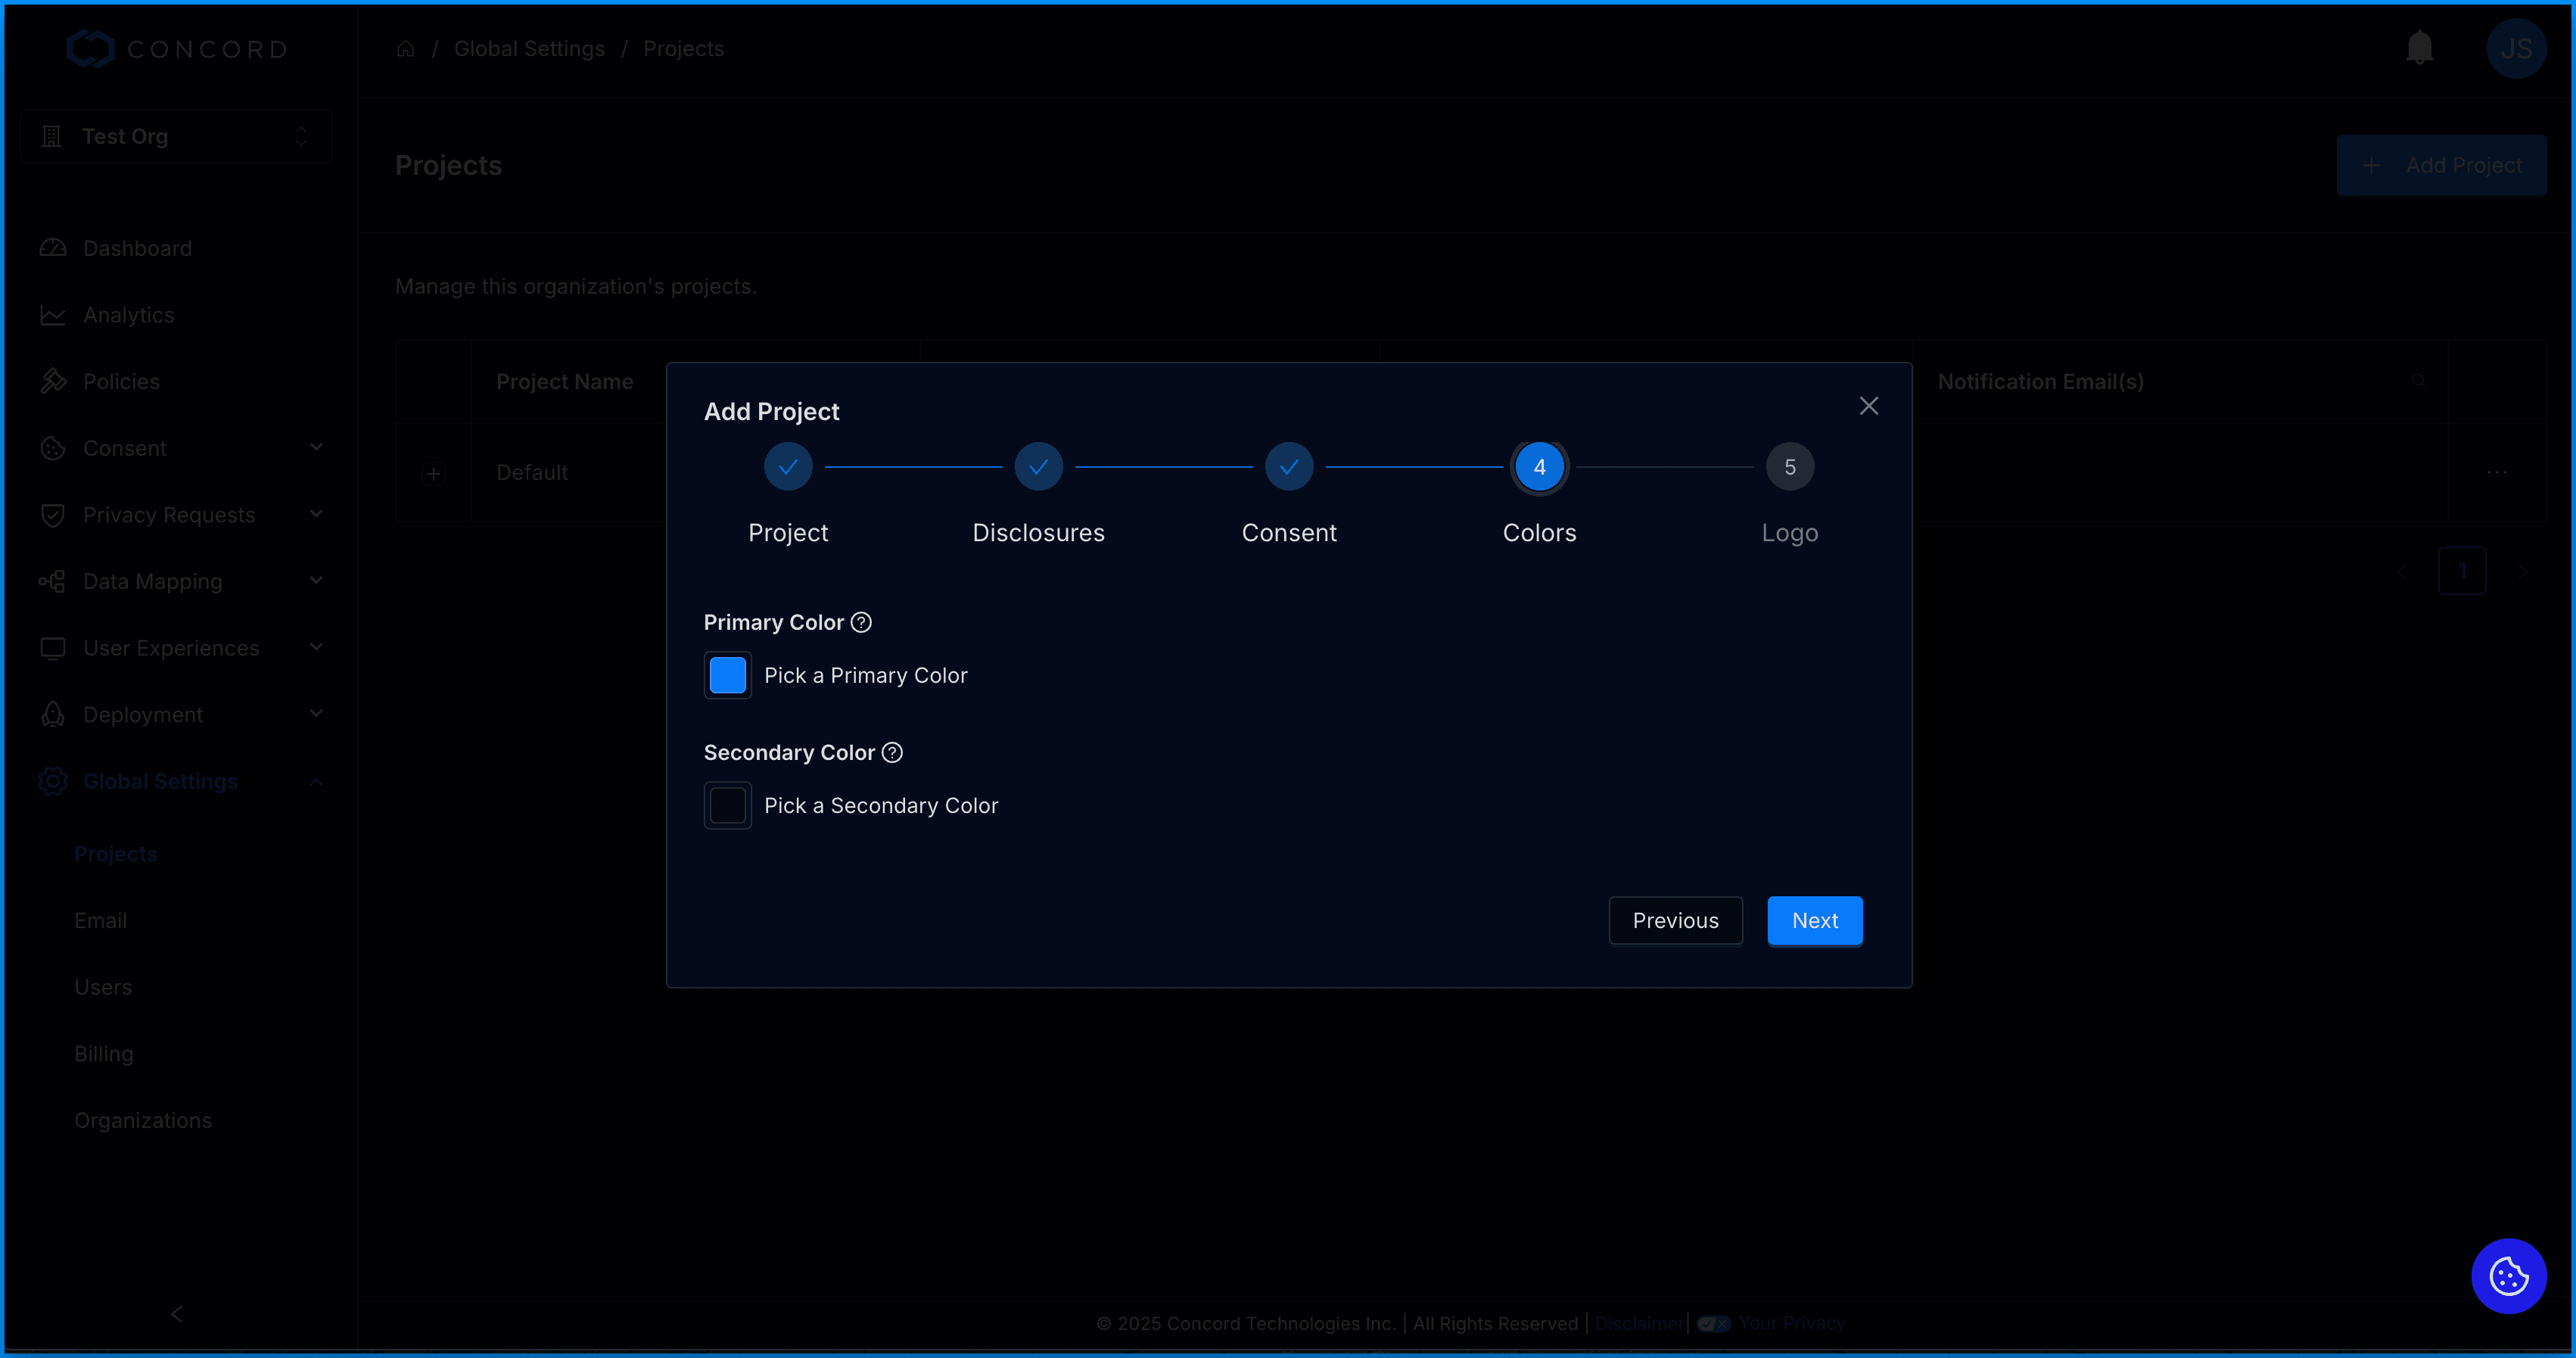
- On the Colors step, select your primary and secondary colors.
- Primary: The primary color is used in your Consent Banner, Privacy Center, and Floating Button for most of your custom branding (buttons, links, etc.).
- Secondary: Your secondary color is used for the background of the header in your Privacy Center.
- On the Logo step, add the logo you want to use in your Privacy Center. Horizontal logos are recommended. There are no height or width restrictions, but logos are resized in the widget to a max-height of 40px so 40px is the preferred height.
![]()
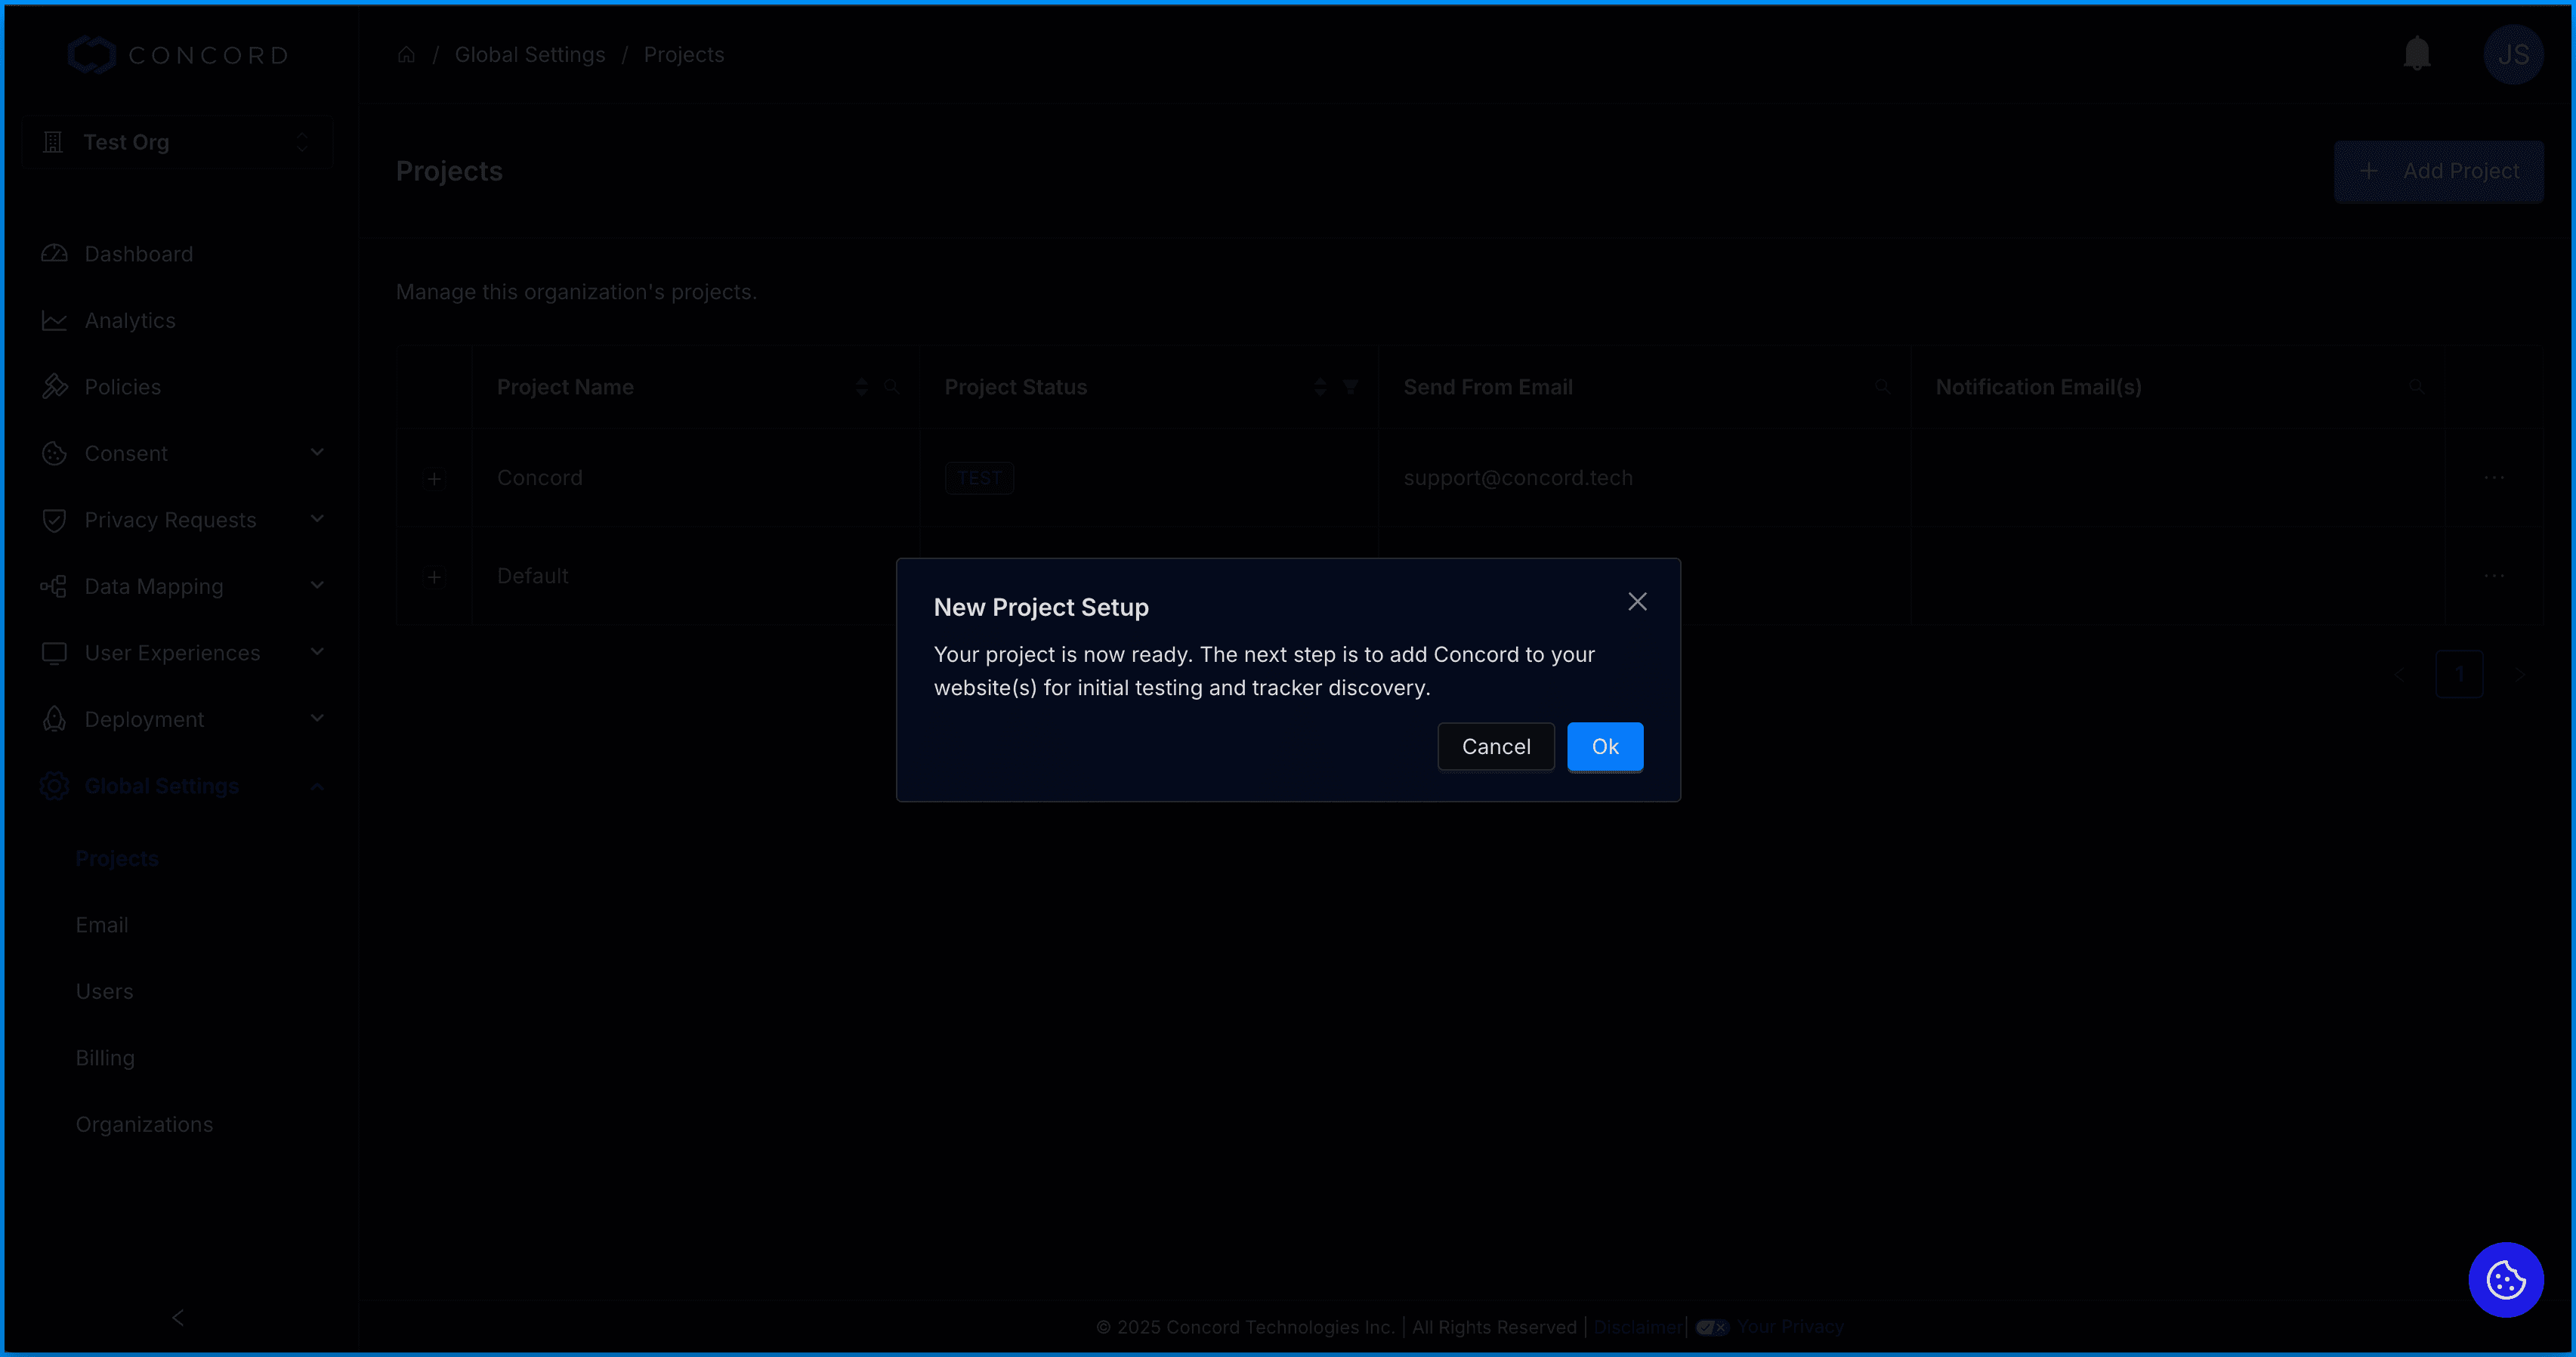
- We will display a message letting you know the project has successfully been added and is now ready for use.
How to Edit a Project
The options to edit a project located on the right-hand side of the domain list in the Actions menu.
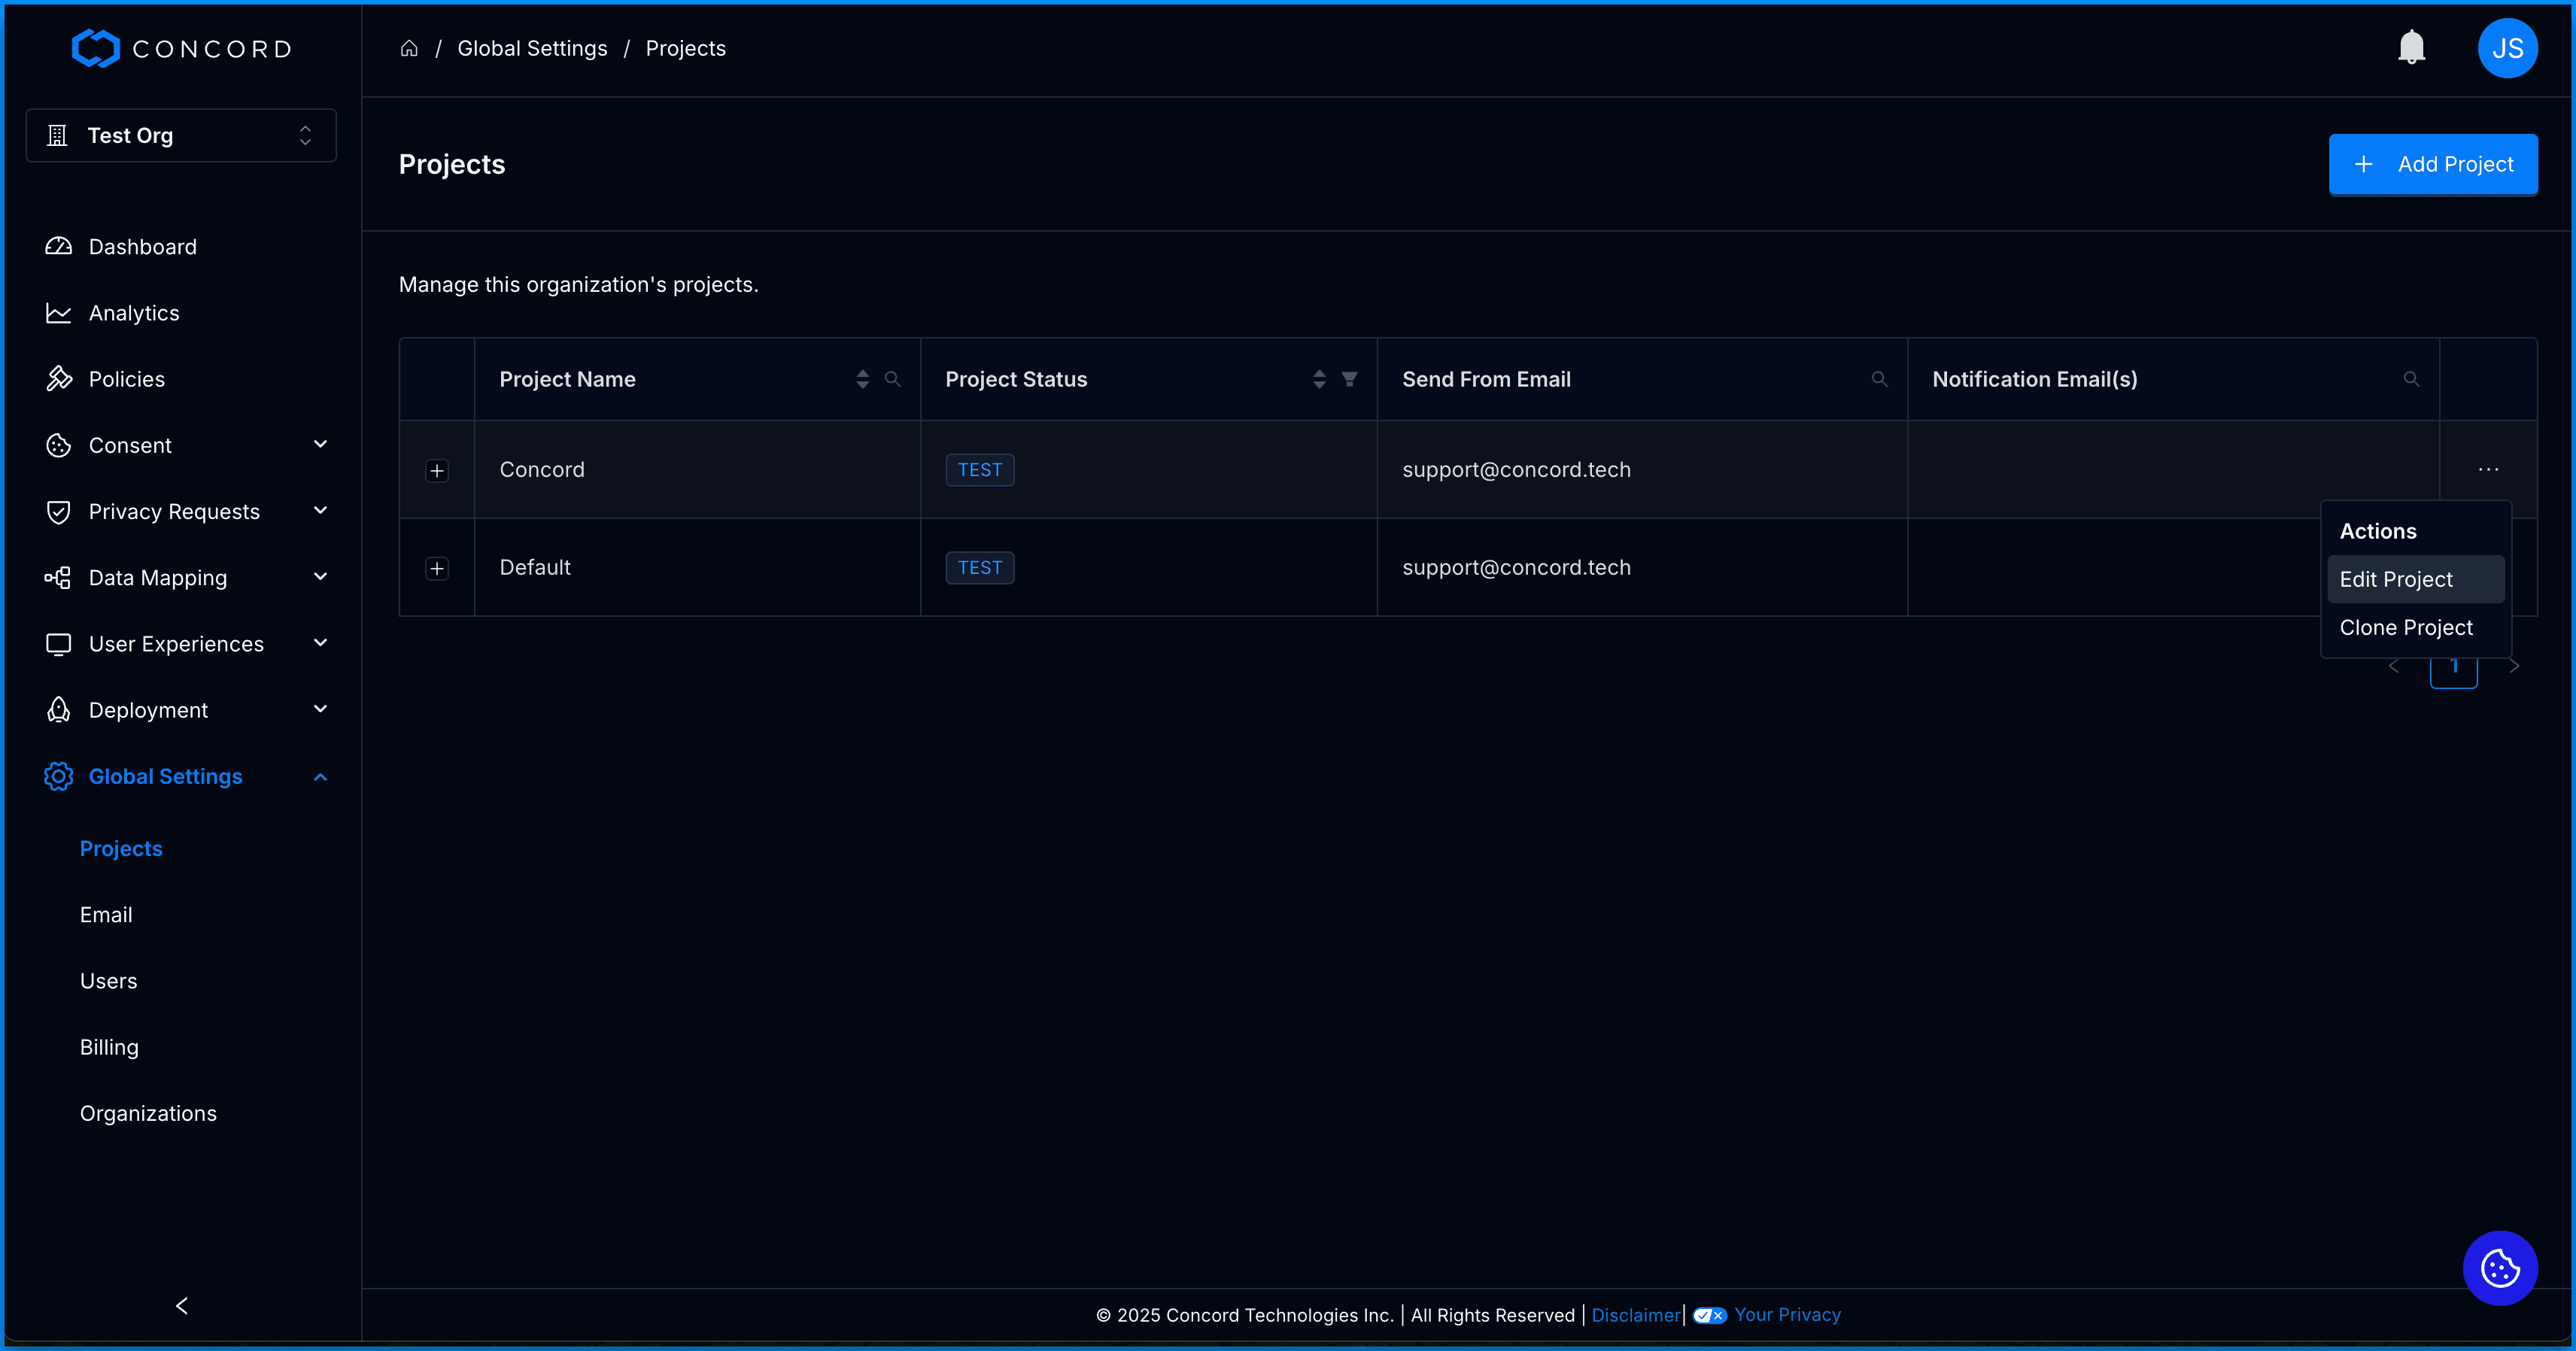
Select Edit to change an existing domain’s name or URL. You’ll be able to edit:
- Project Name
- Status
- Send From Email
- Notification Email(s)
- Data Systems
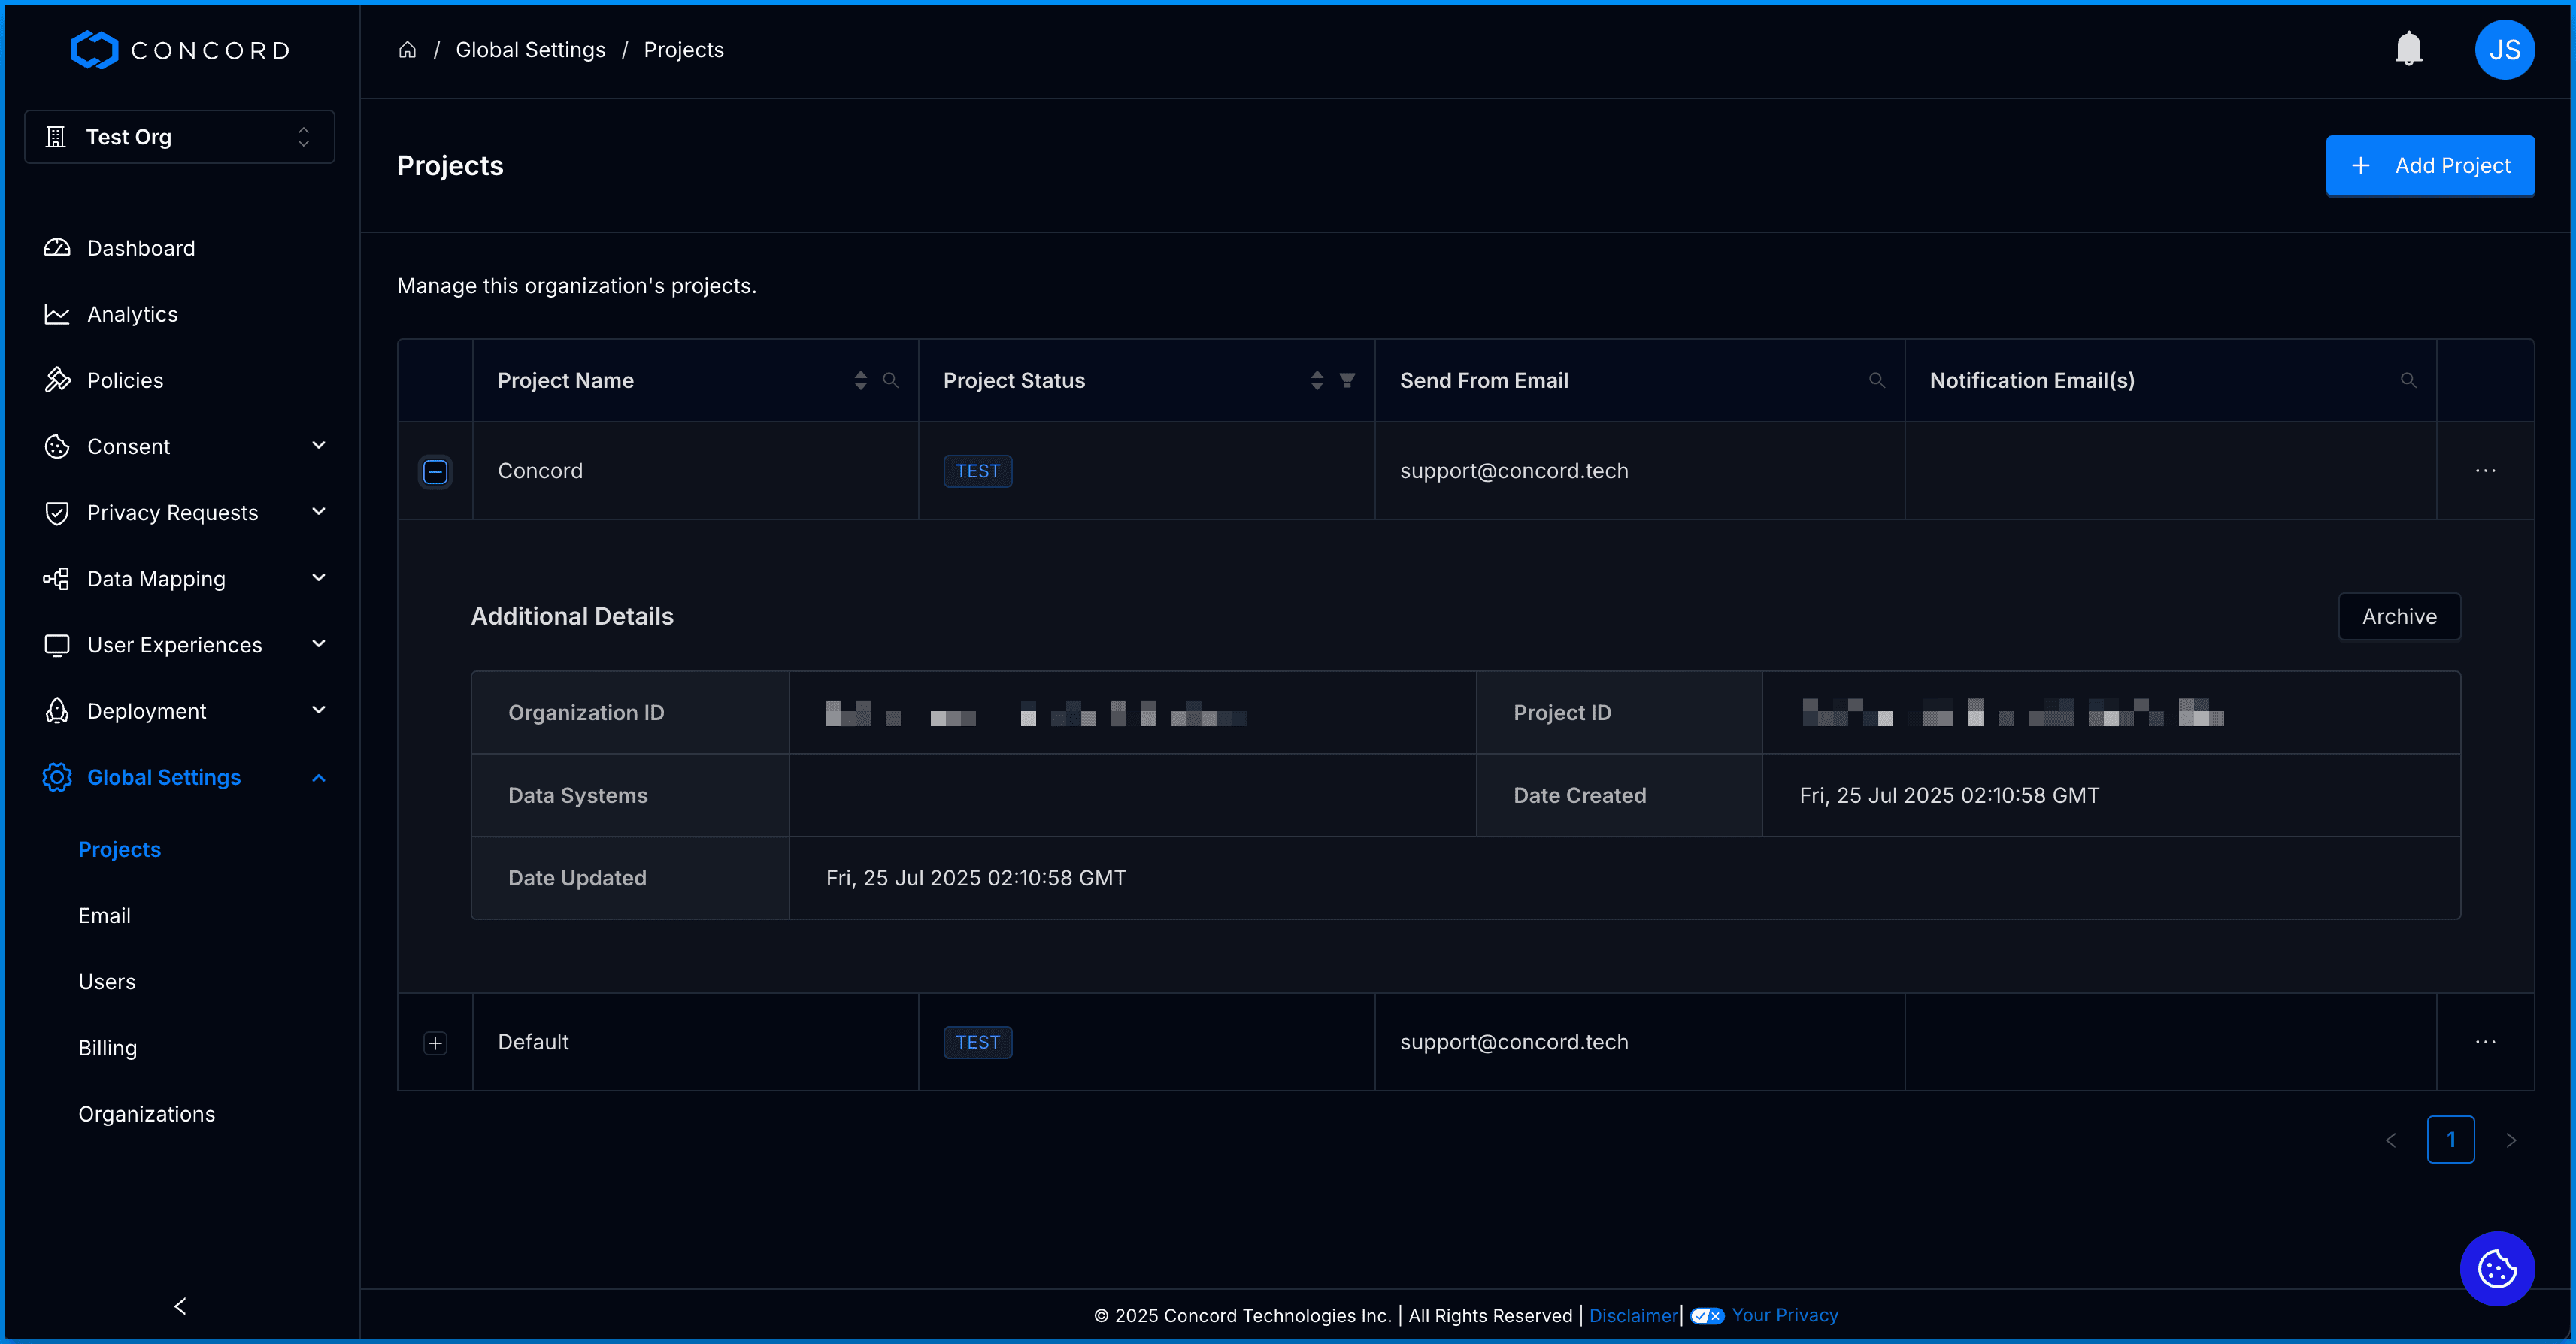
How to Archive and Unarchive Projects
You can archive a project by clicking the “+” to the right of the project name to view the project details. Click the Archive button and you will be prompted to confirm you want to archive the project.
To view and restore archived projects. Login to your Concord account, navigate to Global Settings, and Projects. Click the filter option to the right of the Project Status column, select Archived and click OK. You'll now see a list of your archived projects. Click the Actions Menu to the right of the project you want to change, select Edit Project, and change the project status.
How to Clone a Project
The options to clone a project located on the right-hand side of the domain list in the Actions menu. When cloning a project, the core configuration settings will be copied to the new project (branding, consent settings, privacy request settings, etc.).
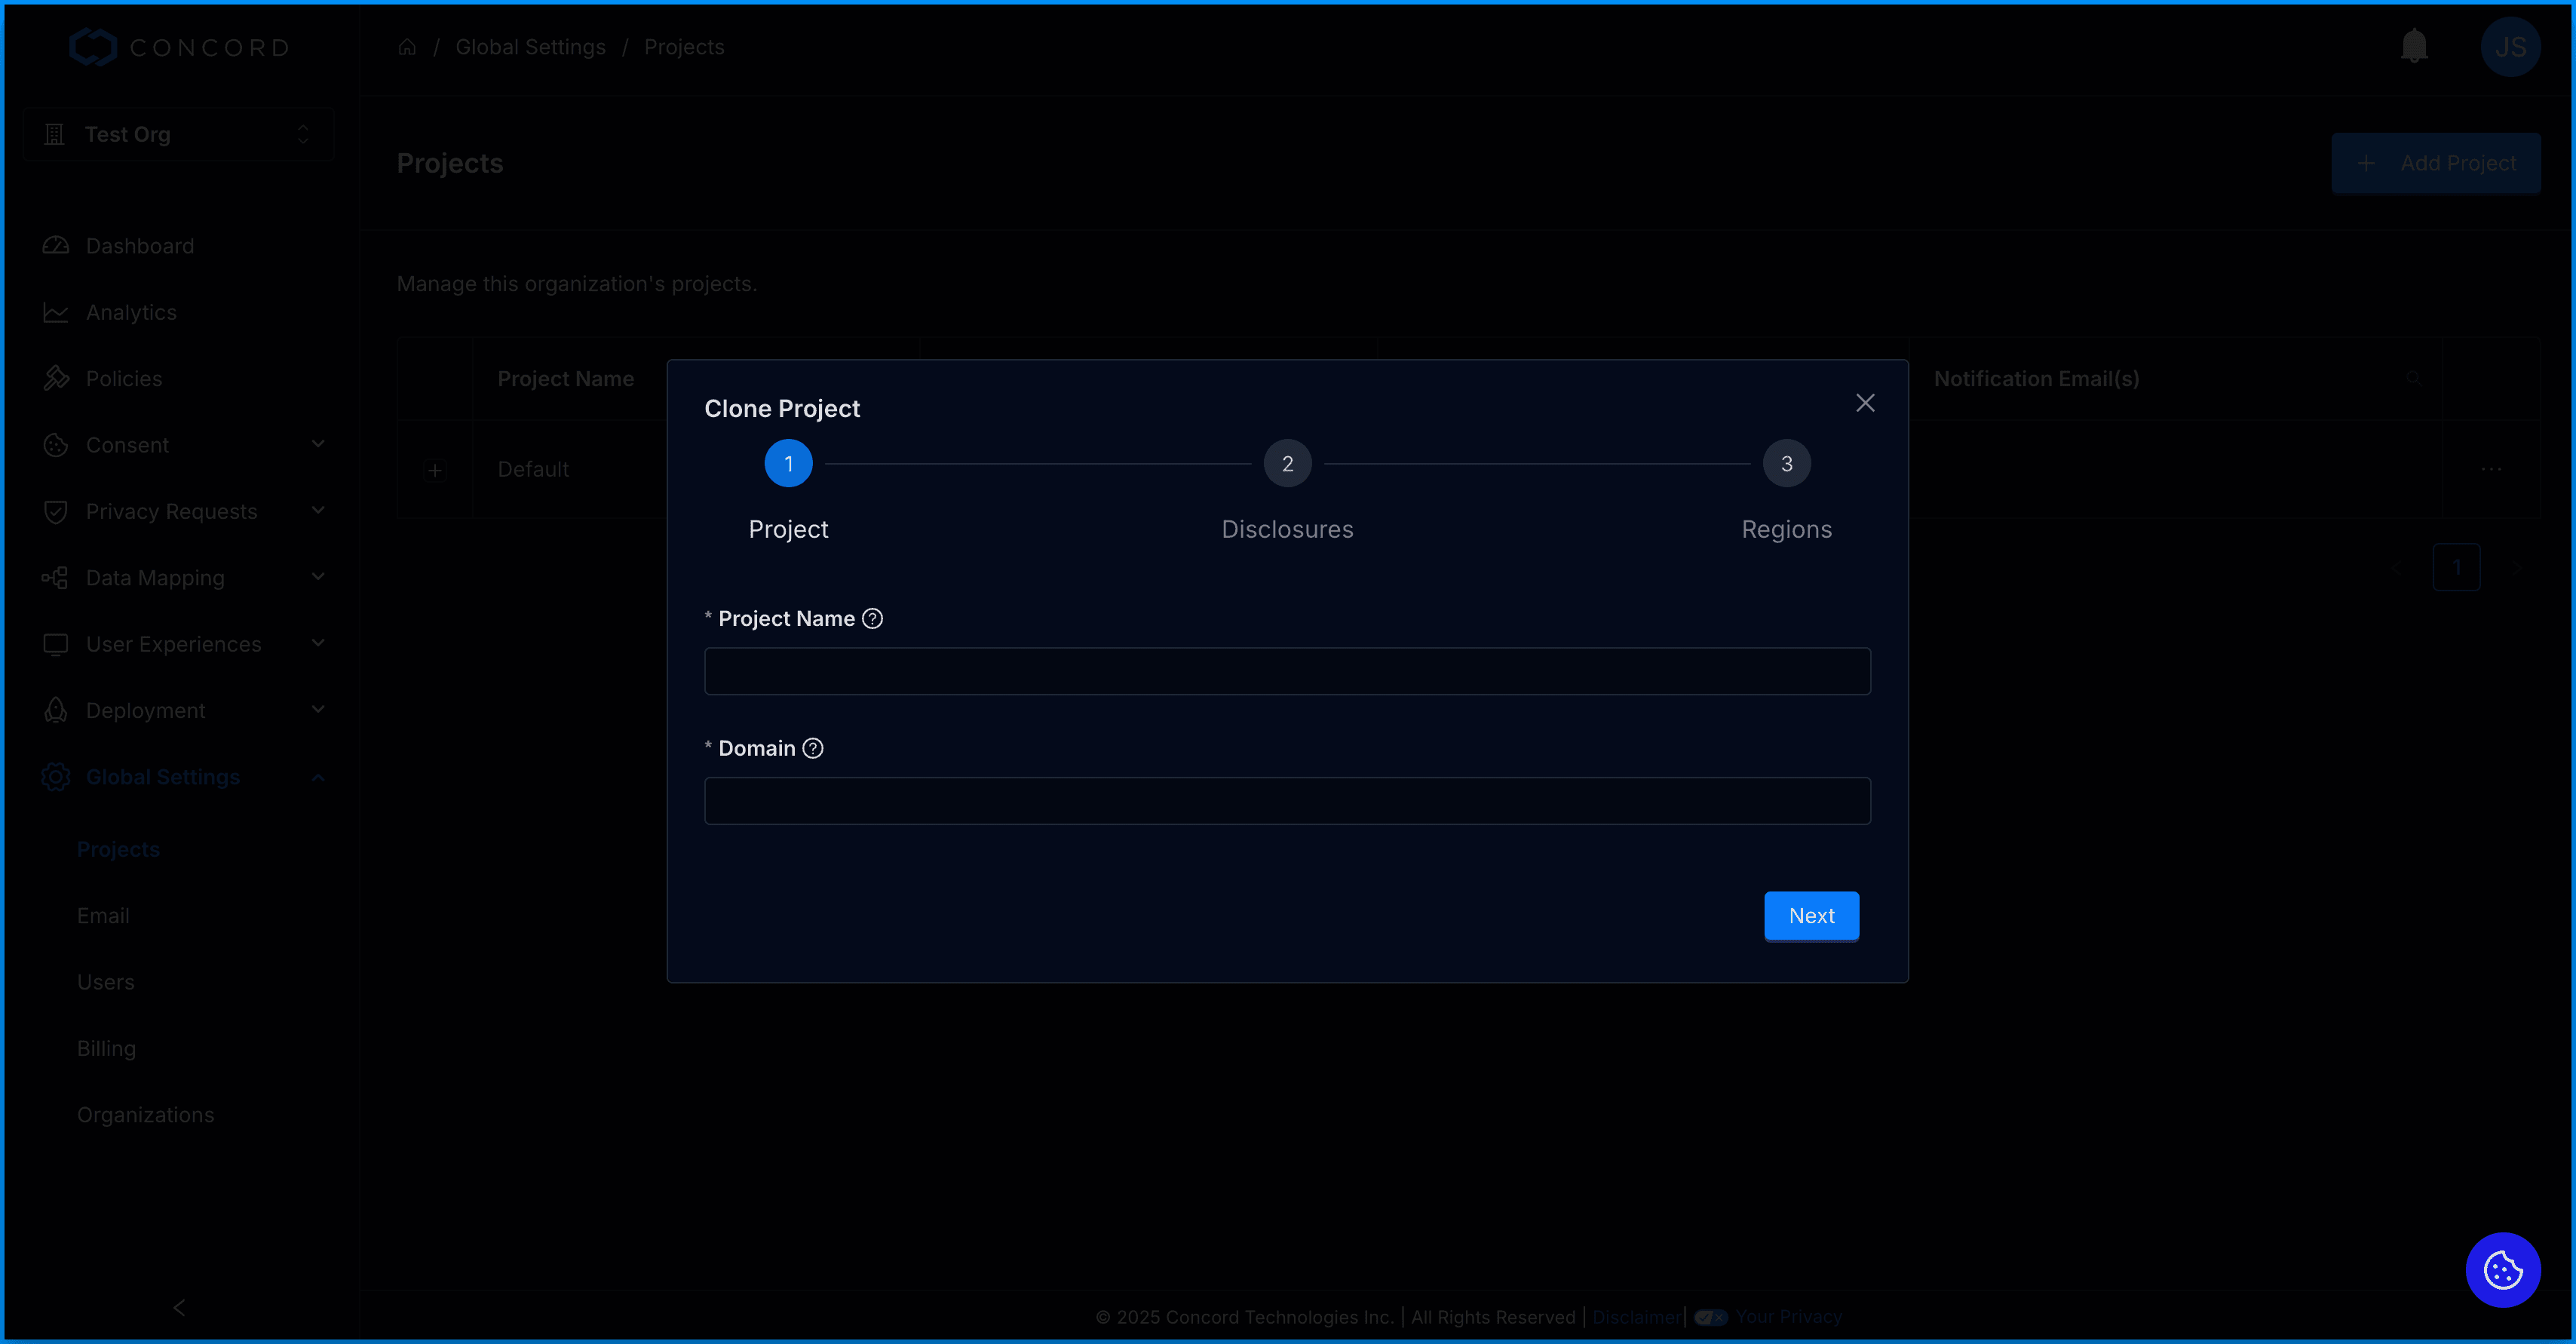
- In the Clone Project wizard, on the Project step, enter your Project Name and Domain URL and click Next.
- The UI will confirm if you have entered a properly formatted domain. Do not prepend “http://” or “https://” to your domain.
- On the Disclosure screen, add the URL for your organization’s Privacy Policy (required) and Terms of Service. If the Project you are cloning has no additional regions, this is the final step and you can click Done. You will now see your new project in the list of projects. If the project being cloned has additional regions, click Next to continue to the final step.
- If you are cloning a project that has additional regions, you will see a Regions step, where you can select the additional regions you would like copied to the new project. Please note that this section will not show in the wizard if you only have a default region configured. Click Done and you will see the new project in your list of projects.