Getting Started with Concord
A quick overview of how to get started with Concord, with links to step-by-step instructions for each part of the process.
Overview
This guide walks you through the basics for setting up and deploying Concord’s Consent Banner and Privacy Center to your website. It includes three quick phases of setup (configuration in the Concord app, initial deployment and testing on your website, and finally going live in production). For single website rollouts, this can be completed in just a few hours end-to-end. If you have any questions, please reach out to us through our Help Center or at support@concord.tech.
If you haven’t already signed up for Concord, you can do so through this form.
Organization Setup Wizard
When signing up for Concord, you will see the Concord Organization Setup Wizard. This wizard will guide you through setting up the following:
-
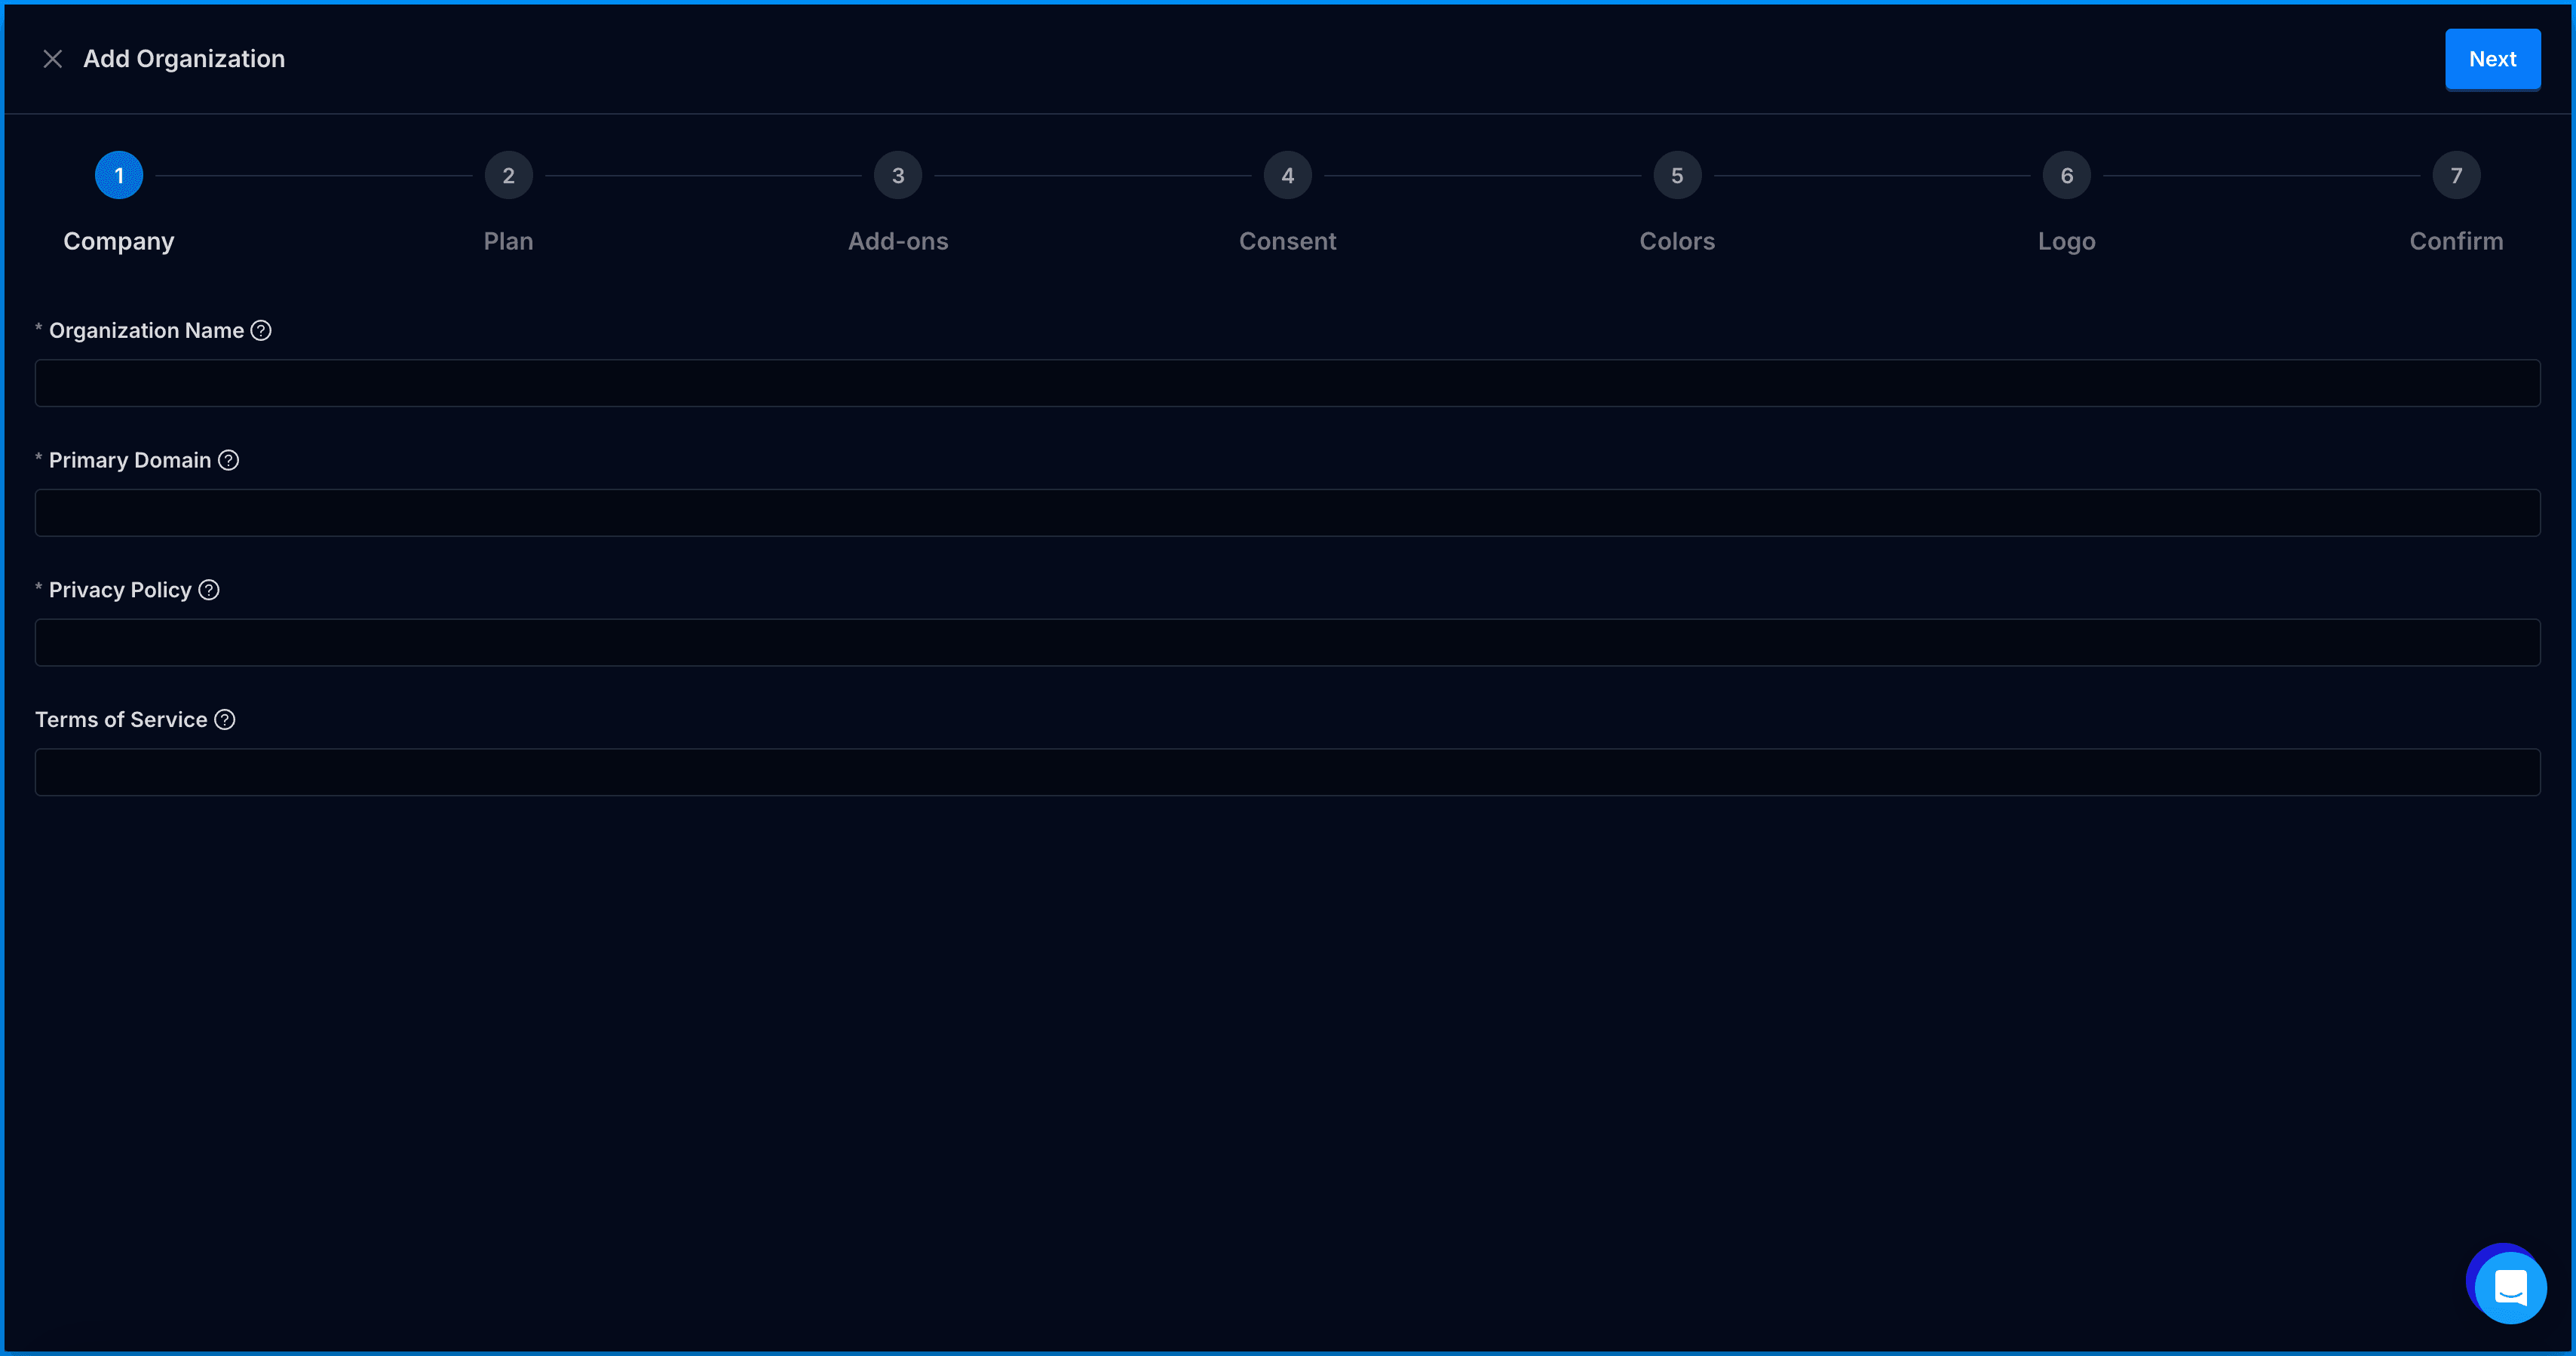
Company: Add you company information including organization name, domain, URL for your Privacy Policy, and URL for your Terms of Service (optional). If you don’t have a live privacy policy link yet, you can enter a placeholder that matches where it will likely live in the future, ex. mydomain.com/privacy-policy
-
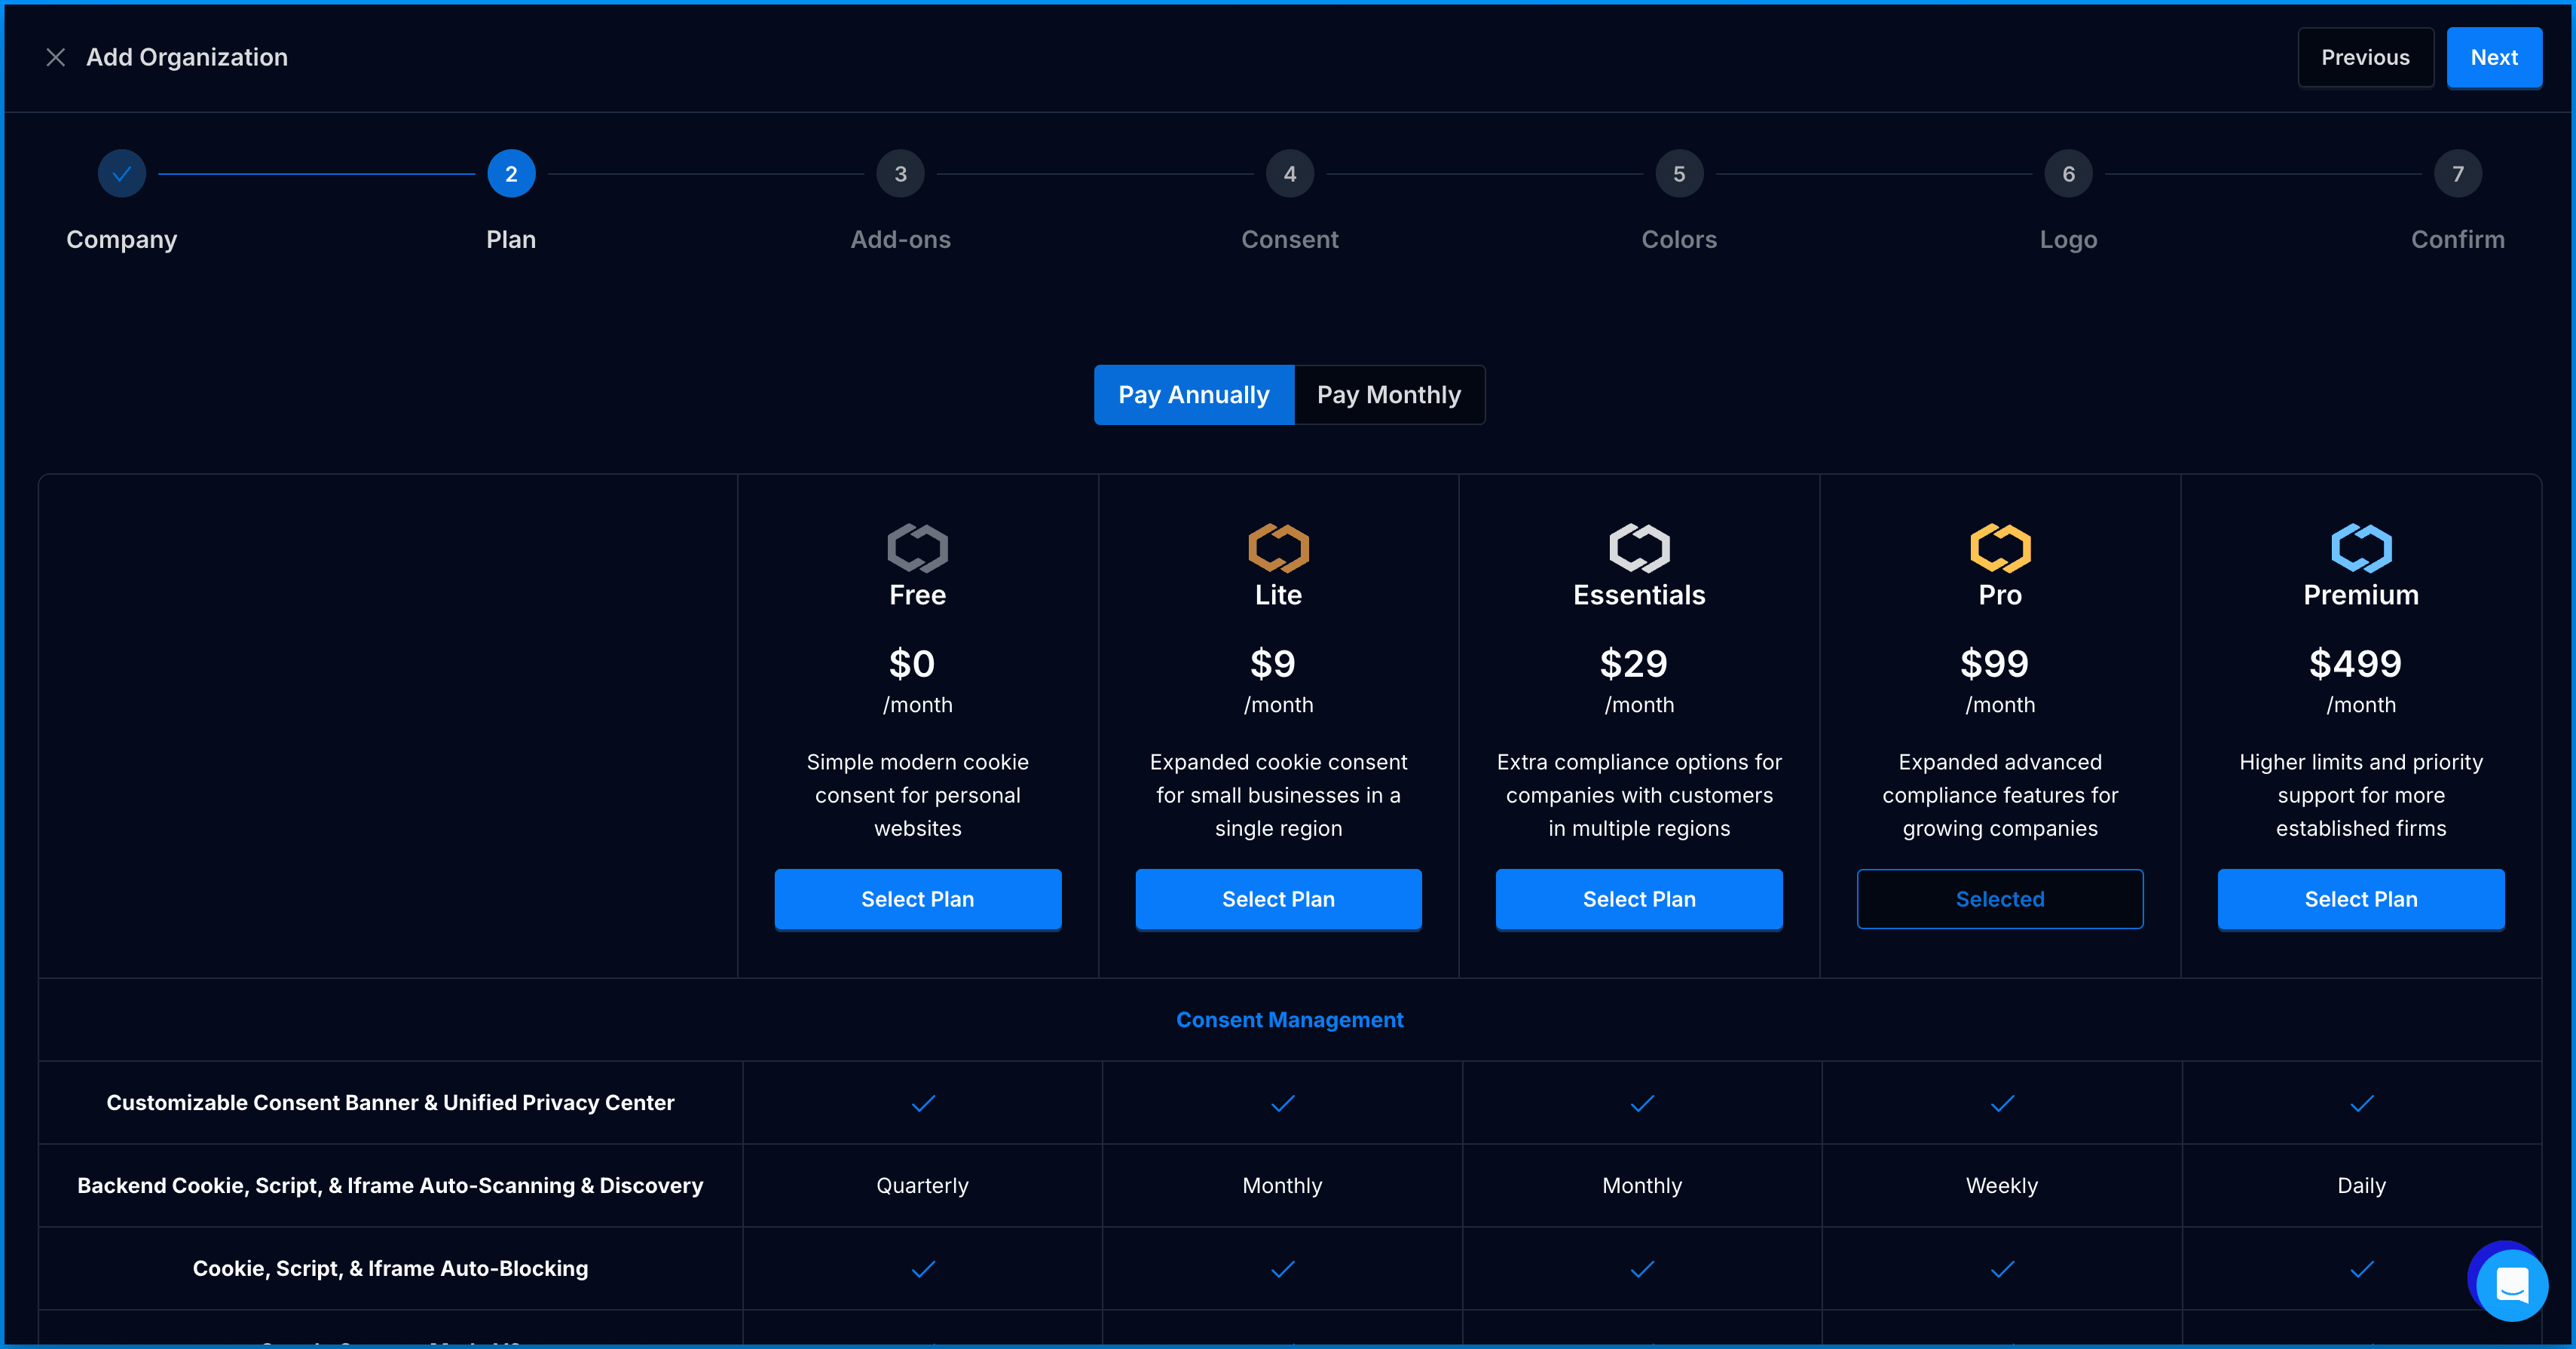
Plan: Select the plan that best fits your company’s needs. Information on plan features are listed on this page and include monthly and annual payment options.
-
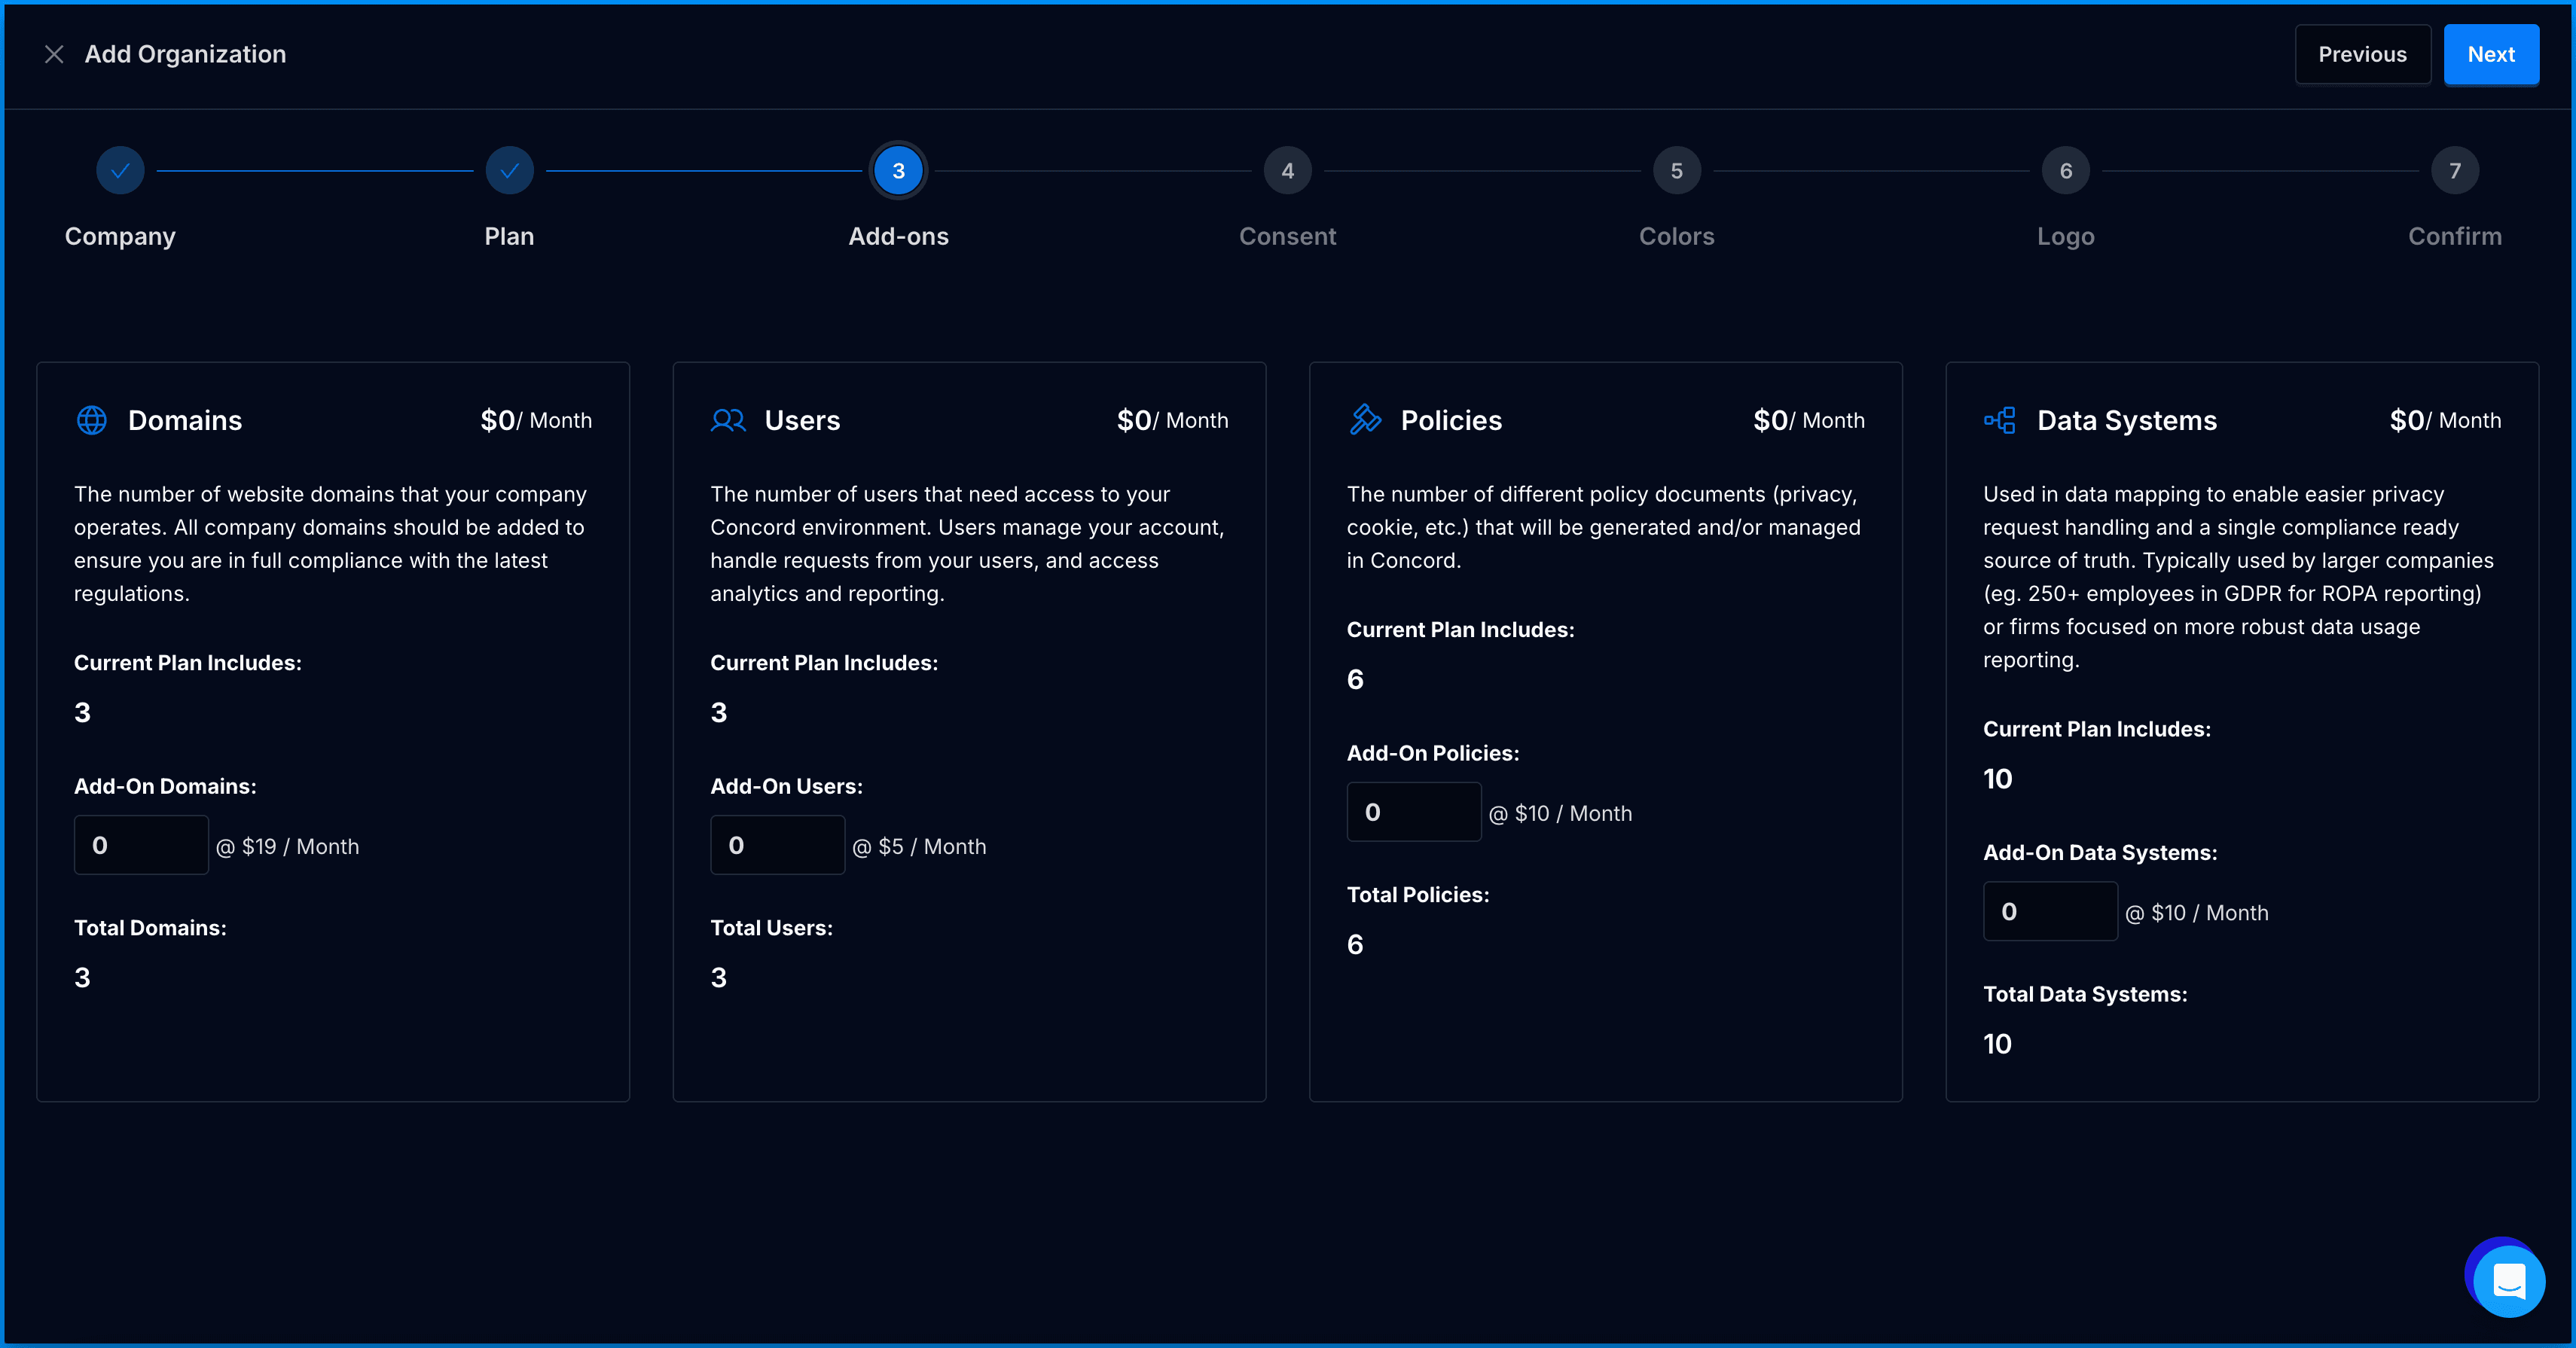
Add-ons: Customize your plan to include additional domains, users, policies, and data systems. This can always be adjusted later in the Billing section of your account.
-
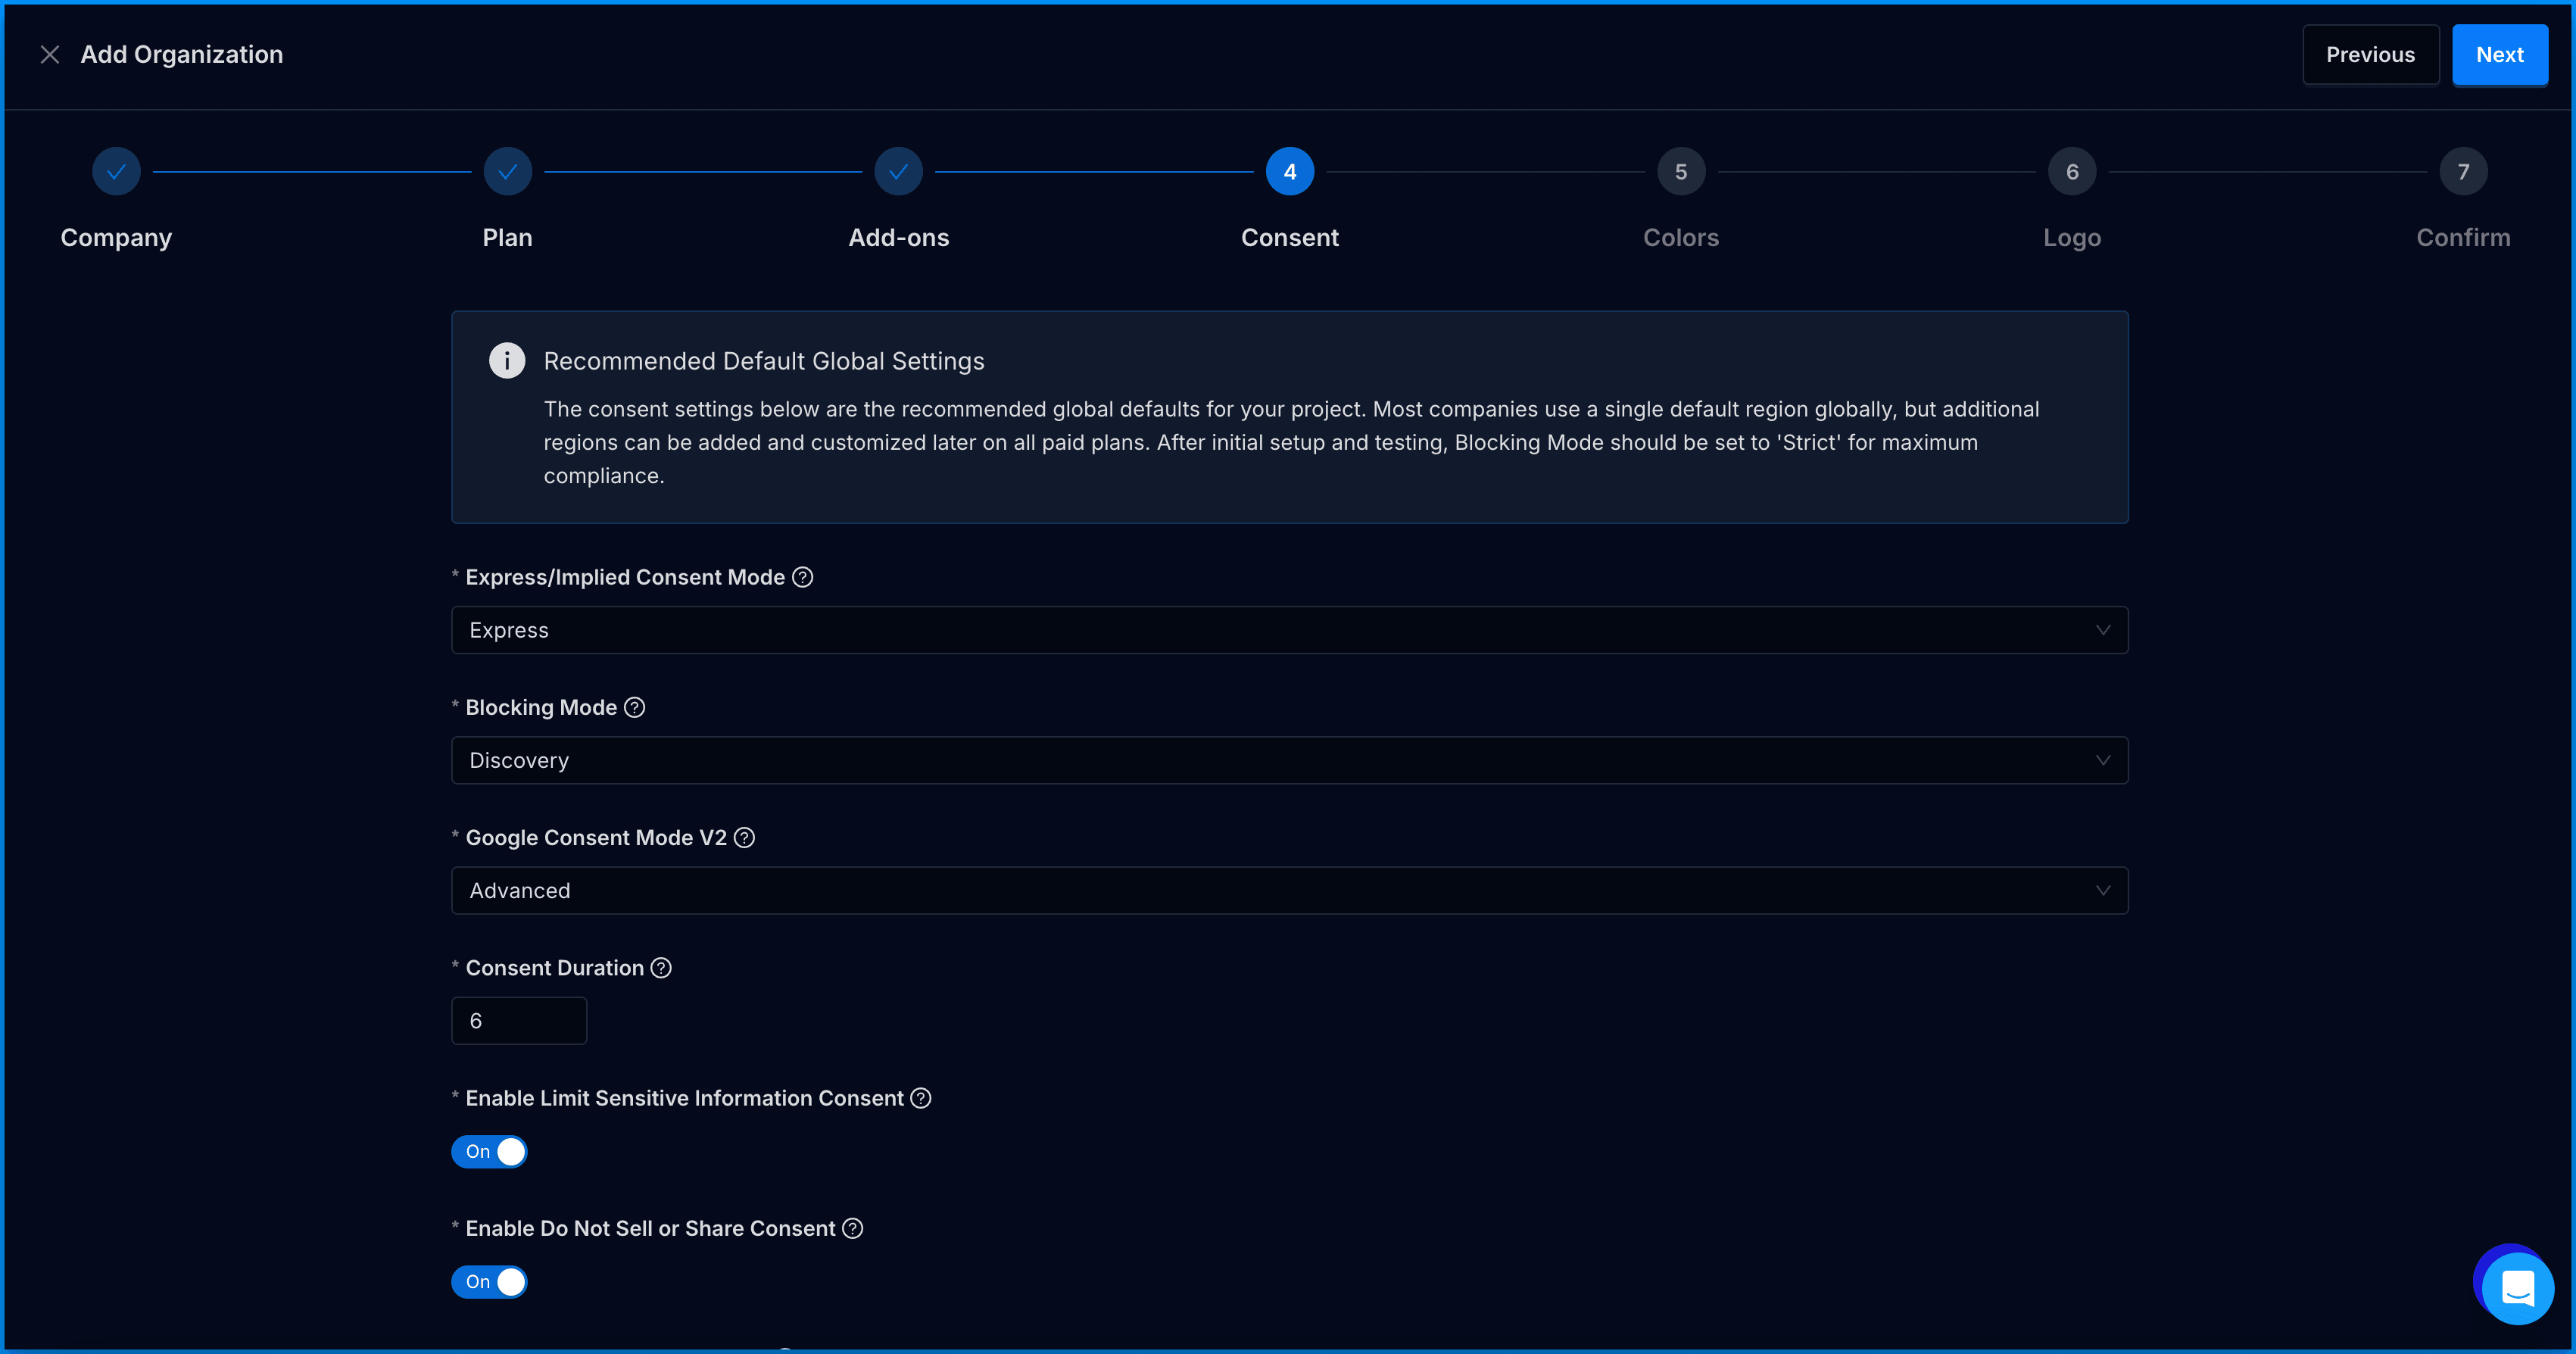
Consent: Configure your organization’s consent settings.
-
Consent configuration options include:
- Consent Mode controls how user consent is received and can be set to Express or Implied mode (default = Express).
- Express is recommended for your default global setup as opt-in consent is required by laws like GDPR and it gives your users full control when it comes to consent. In Express mode, the user must interact with the banner or Privacy center to set their preference.
- Implied mode will generate implied consent events when the user first arrives on your website. This aligns with opt-out laws like CCPA/CPRA in the United States.
- Consent Mode controls how user consent is received and can be set to Express or Implied mode (default = Express).
-
Blocking Mode controls when cookies and tracking scripts are blocked or allowed by Concord (default = Discovery).
- During the setup process, we recommend that you initially set the blocking mode to Discovery. This mode collects information from your site which is used to classify tracking scripts and cookies without blocking them.
- This allows Concord to automatically classify the most common types of cookies and scripts, while giving you the flexibility to customize the categorization and blocking to your needs.
- You will keep this setting in place until you are ready to go-live on your production site.
- When deploying to production, you will set this to Strict or Permissive.
- Strict is recommended as all scripts and cookies that aren’t categorized as strictly necessary are blocked. This is required for full compliance with stricter privacy laws like GDPR.
- Permissive mode blocks categorized scripts and cookies, while unclassified cookies are still allowed.
- Note that in all modes, Ignored scripts, iFrames, images, and links will not be blocked. We capture a larger list of these items than most others tools to ensure true compliance by helping to make sure that nothing falls between the cracks. Ignored items should be regularly reviewed, but only need to be categorized if they touch customer data (including things like IP address in the case of stricter laws like GDPR).
-
Google Consent Mode V2: When enabled, consent data is automatically synced with Google via the Consent Mode API and the Consent Banner text will be adjusted per Google's recommended standards. When enabled, Google Consent Mode V2 can be set to basic or advanced. Basic mode will block Google tags until consent is given, but automatically syncs consent data with Google after consent is received. Advanced mode is a more robust option that allows Google tags to run and control initial consent settings and data collection, while providing additional data insights like conversion modeling. Advanced mode is recommended for most companies.
-
Consent Duration: Once the duration has expired, the user will be prompted to re-consent. The normal recommended duration is 6 months for the best coverage across different regions.
-
Enable Limit Sensitive Information: This can be configured as desired or required by law. Laws like CCPA/CPRA in the United States require this, so we recommend setting it on by default.
-
Enable Do Not Sell Consent: This setting can be configured as desired or required by law. Laws like CCPA/CPRA in the United States require this to be enabled, so we recommend setting it on by default.
-
Enable Global Privacy Control: This can be configured as desired or required by law. Laws like CCPA/CPRA in the United States require this to be enabled, so we recommend setting it on by default.
-
For more information on configuring consent settings, see this article on consent settings.
-
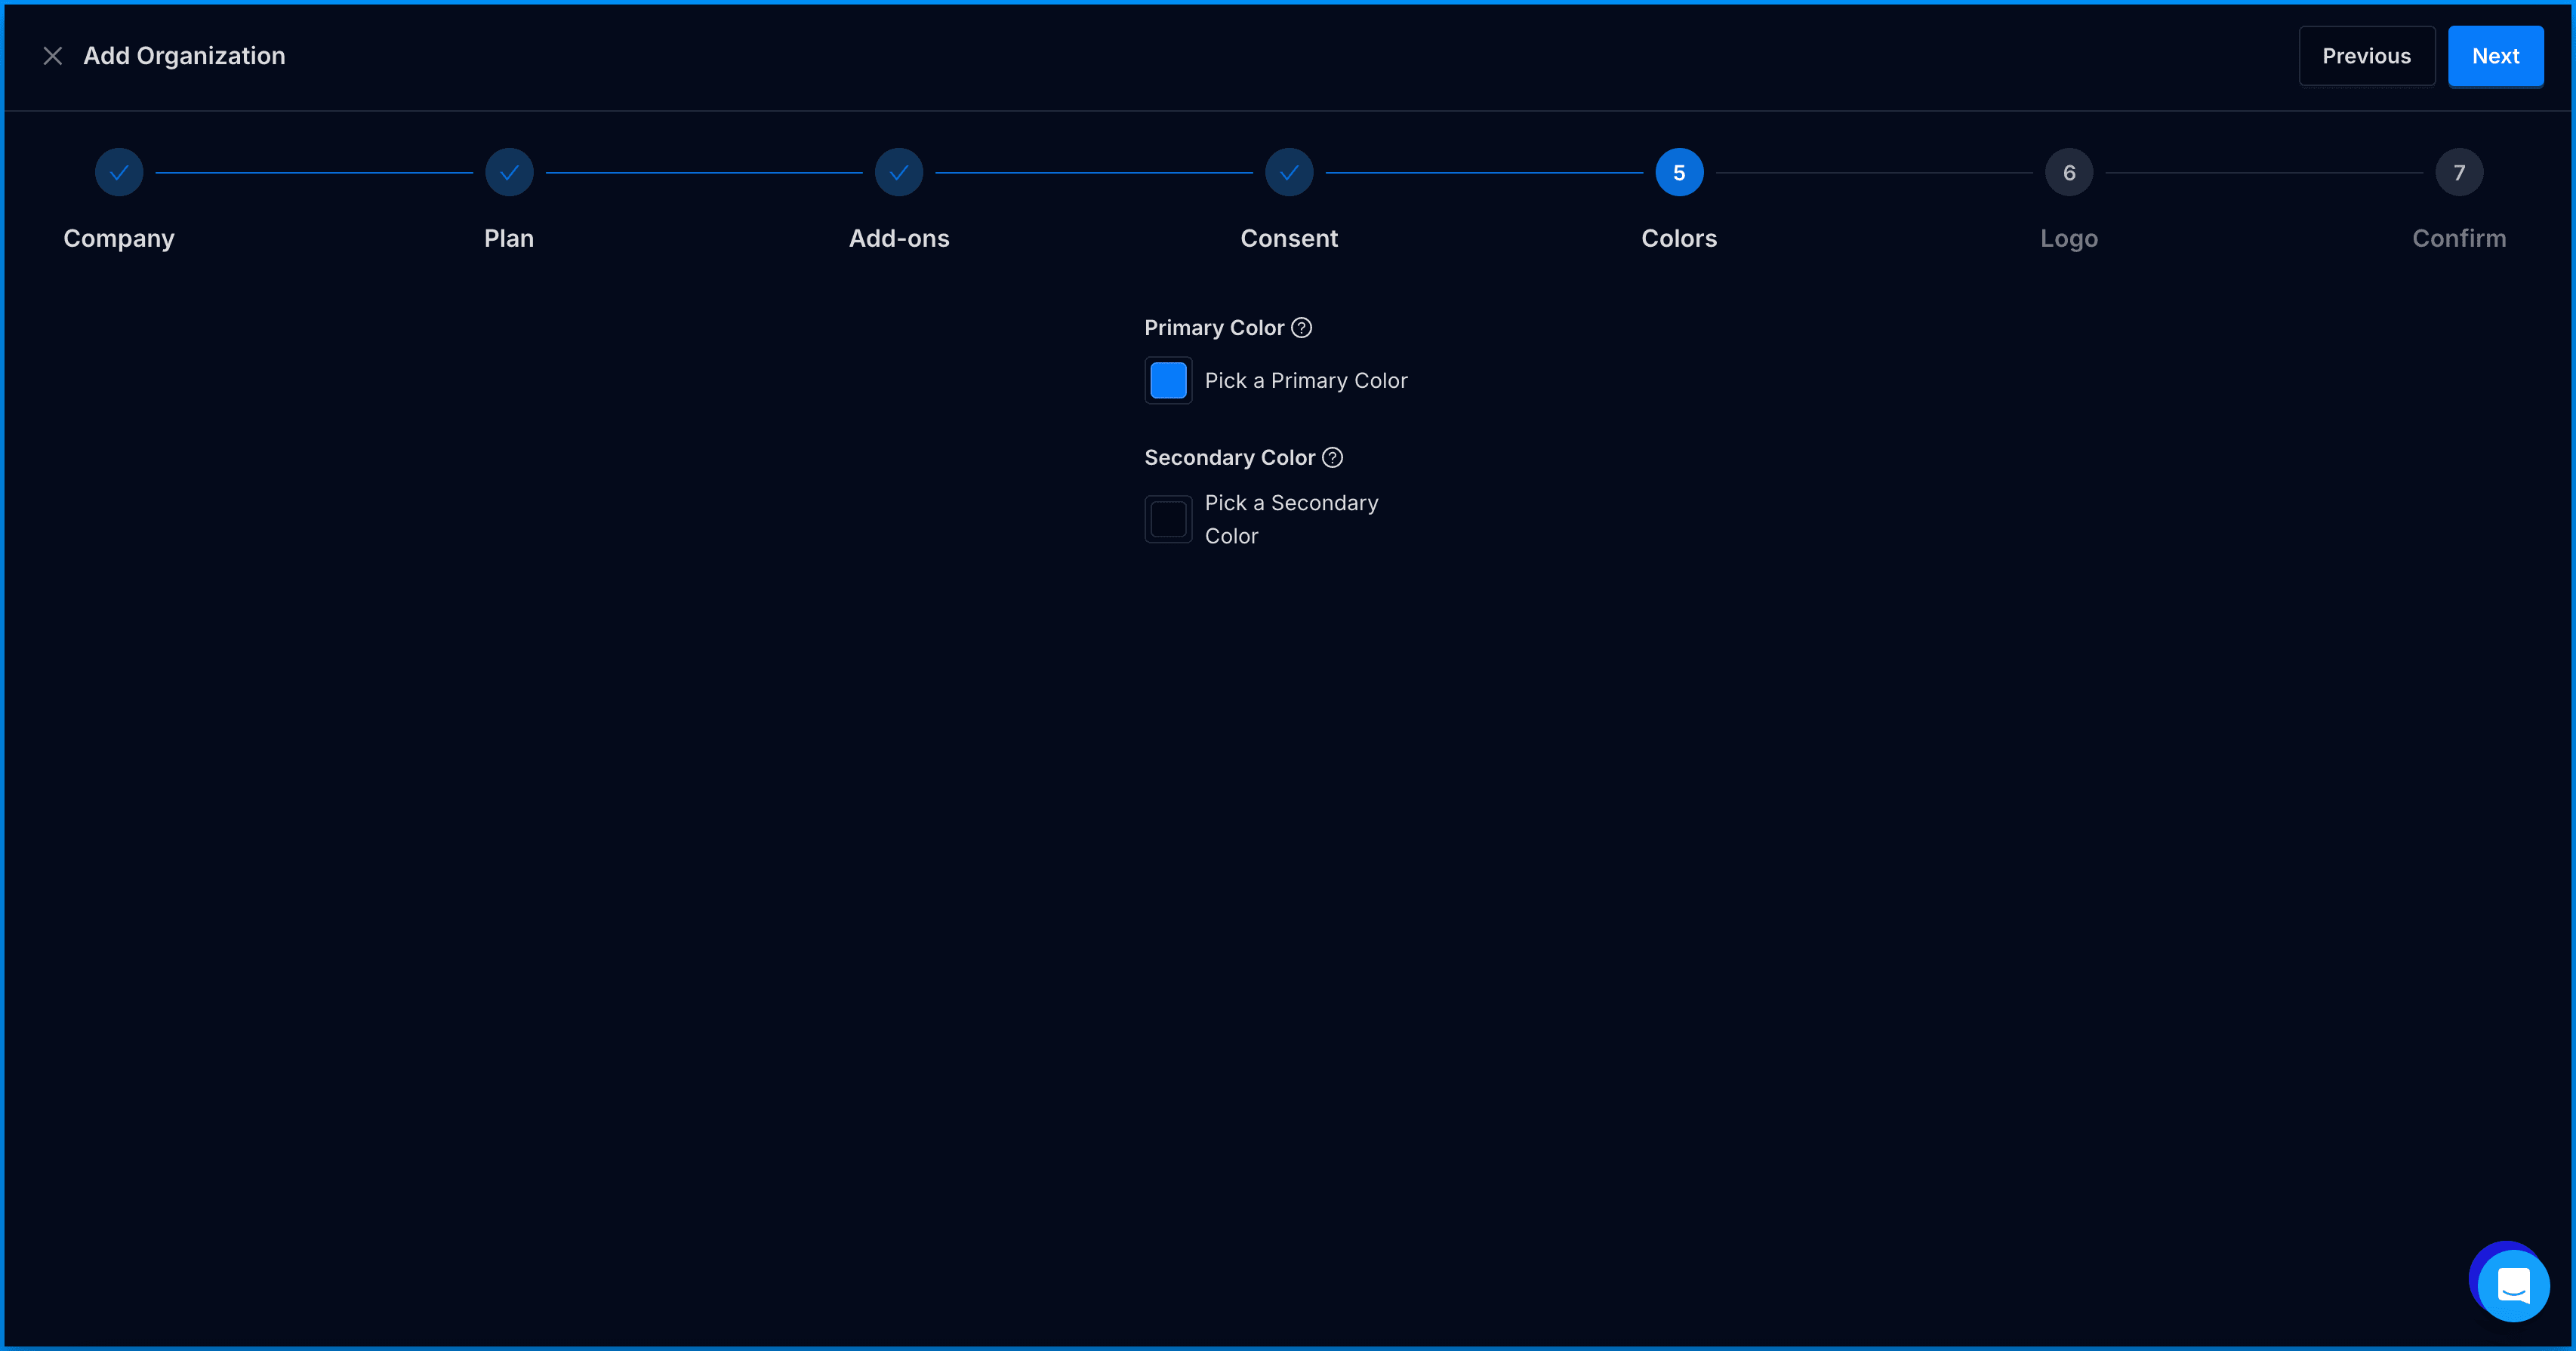
Colors: Select your primary and secondary colors.
- Primary: The primary color is used in your Consent Banner, Privacy Center, and Floating Button for most of your custom branding (buttons, links, etc.).
- Secondary: Your secondary color is used for the background of the header in your Privacy Center.
-
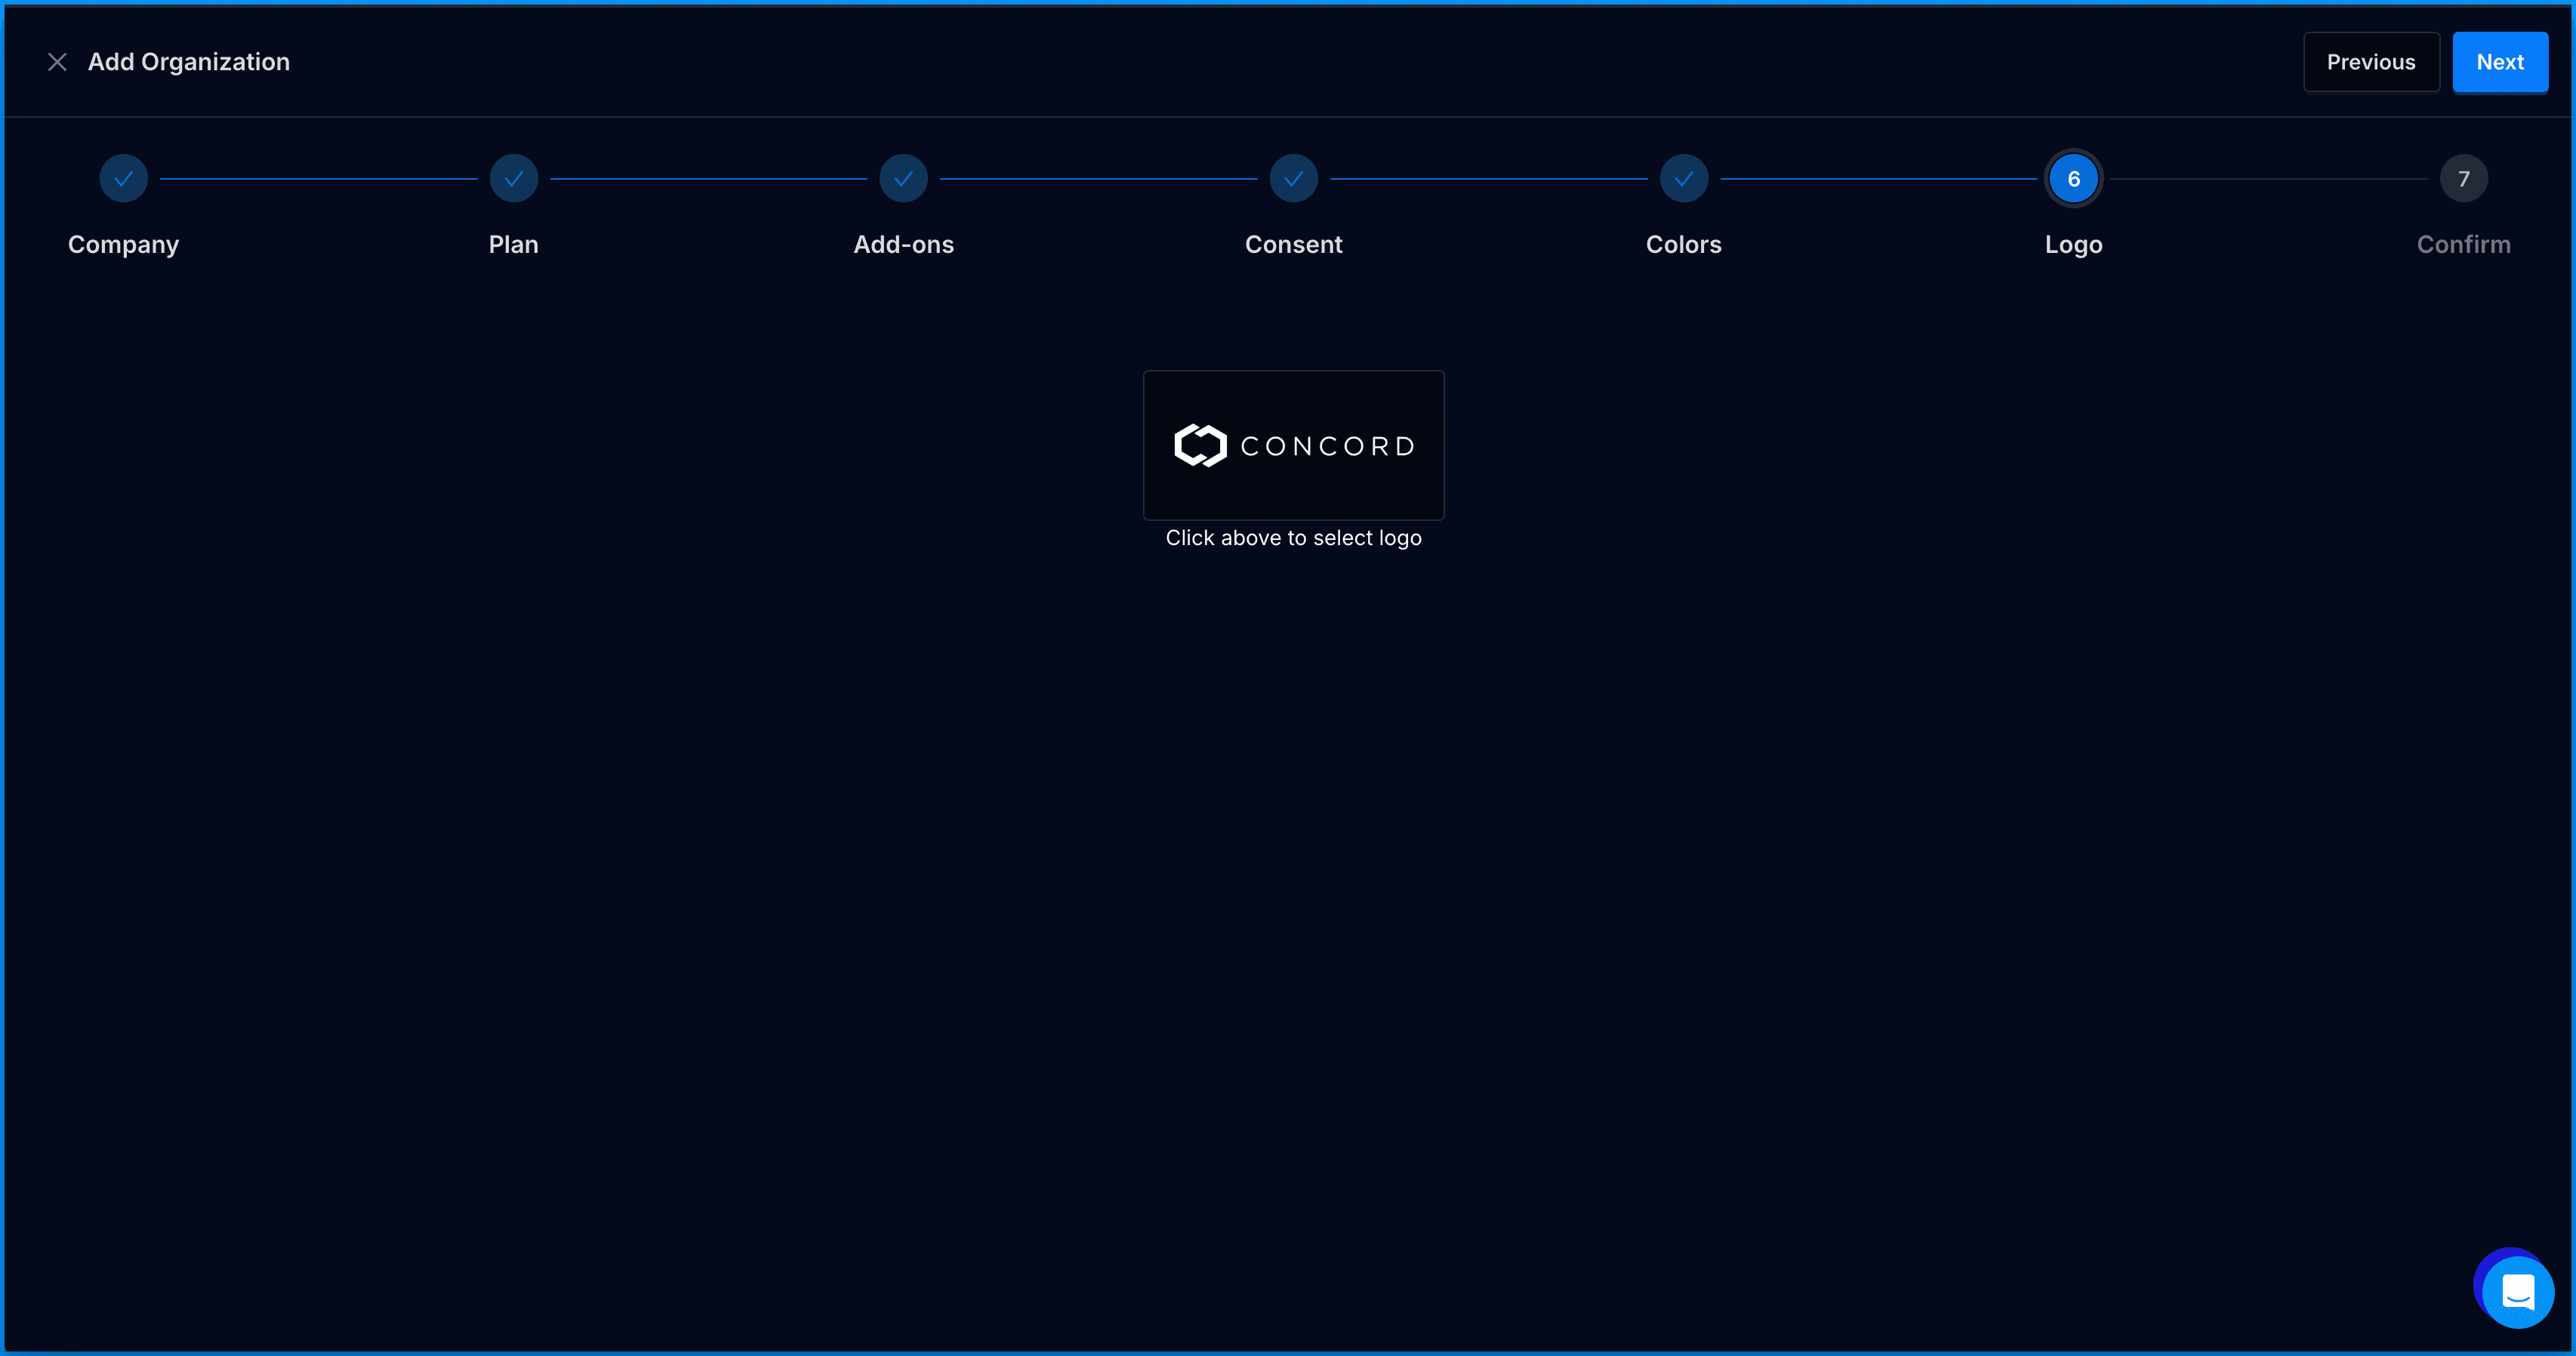
Logo: Add the logo you want to use in your Privacy Center. Horizontal logos are recommended. There are no height or width restrictions, but logos are resized in the widget to a max-height of 40px so 40px is the preferred height.
-
Confirm: Review and confirm your plan and add-ons. Once you click the Confirm button, for paid plans, you will be prompted to submit your payment information.
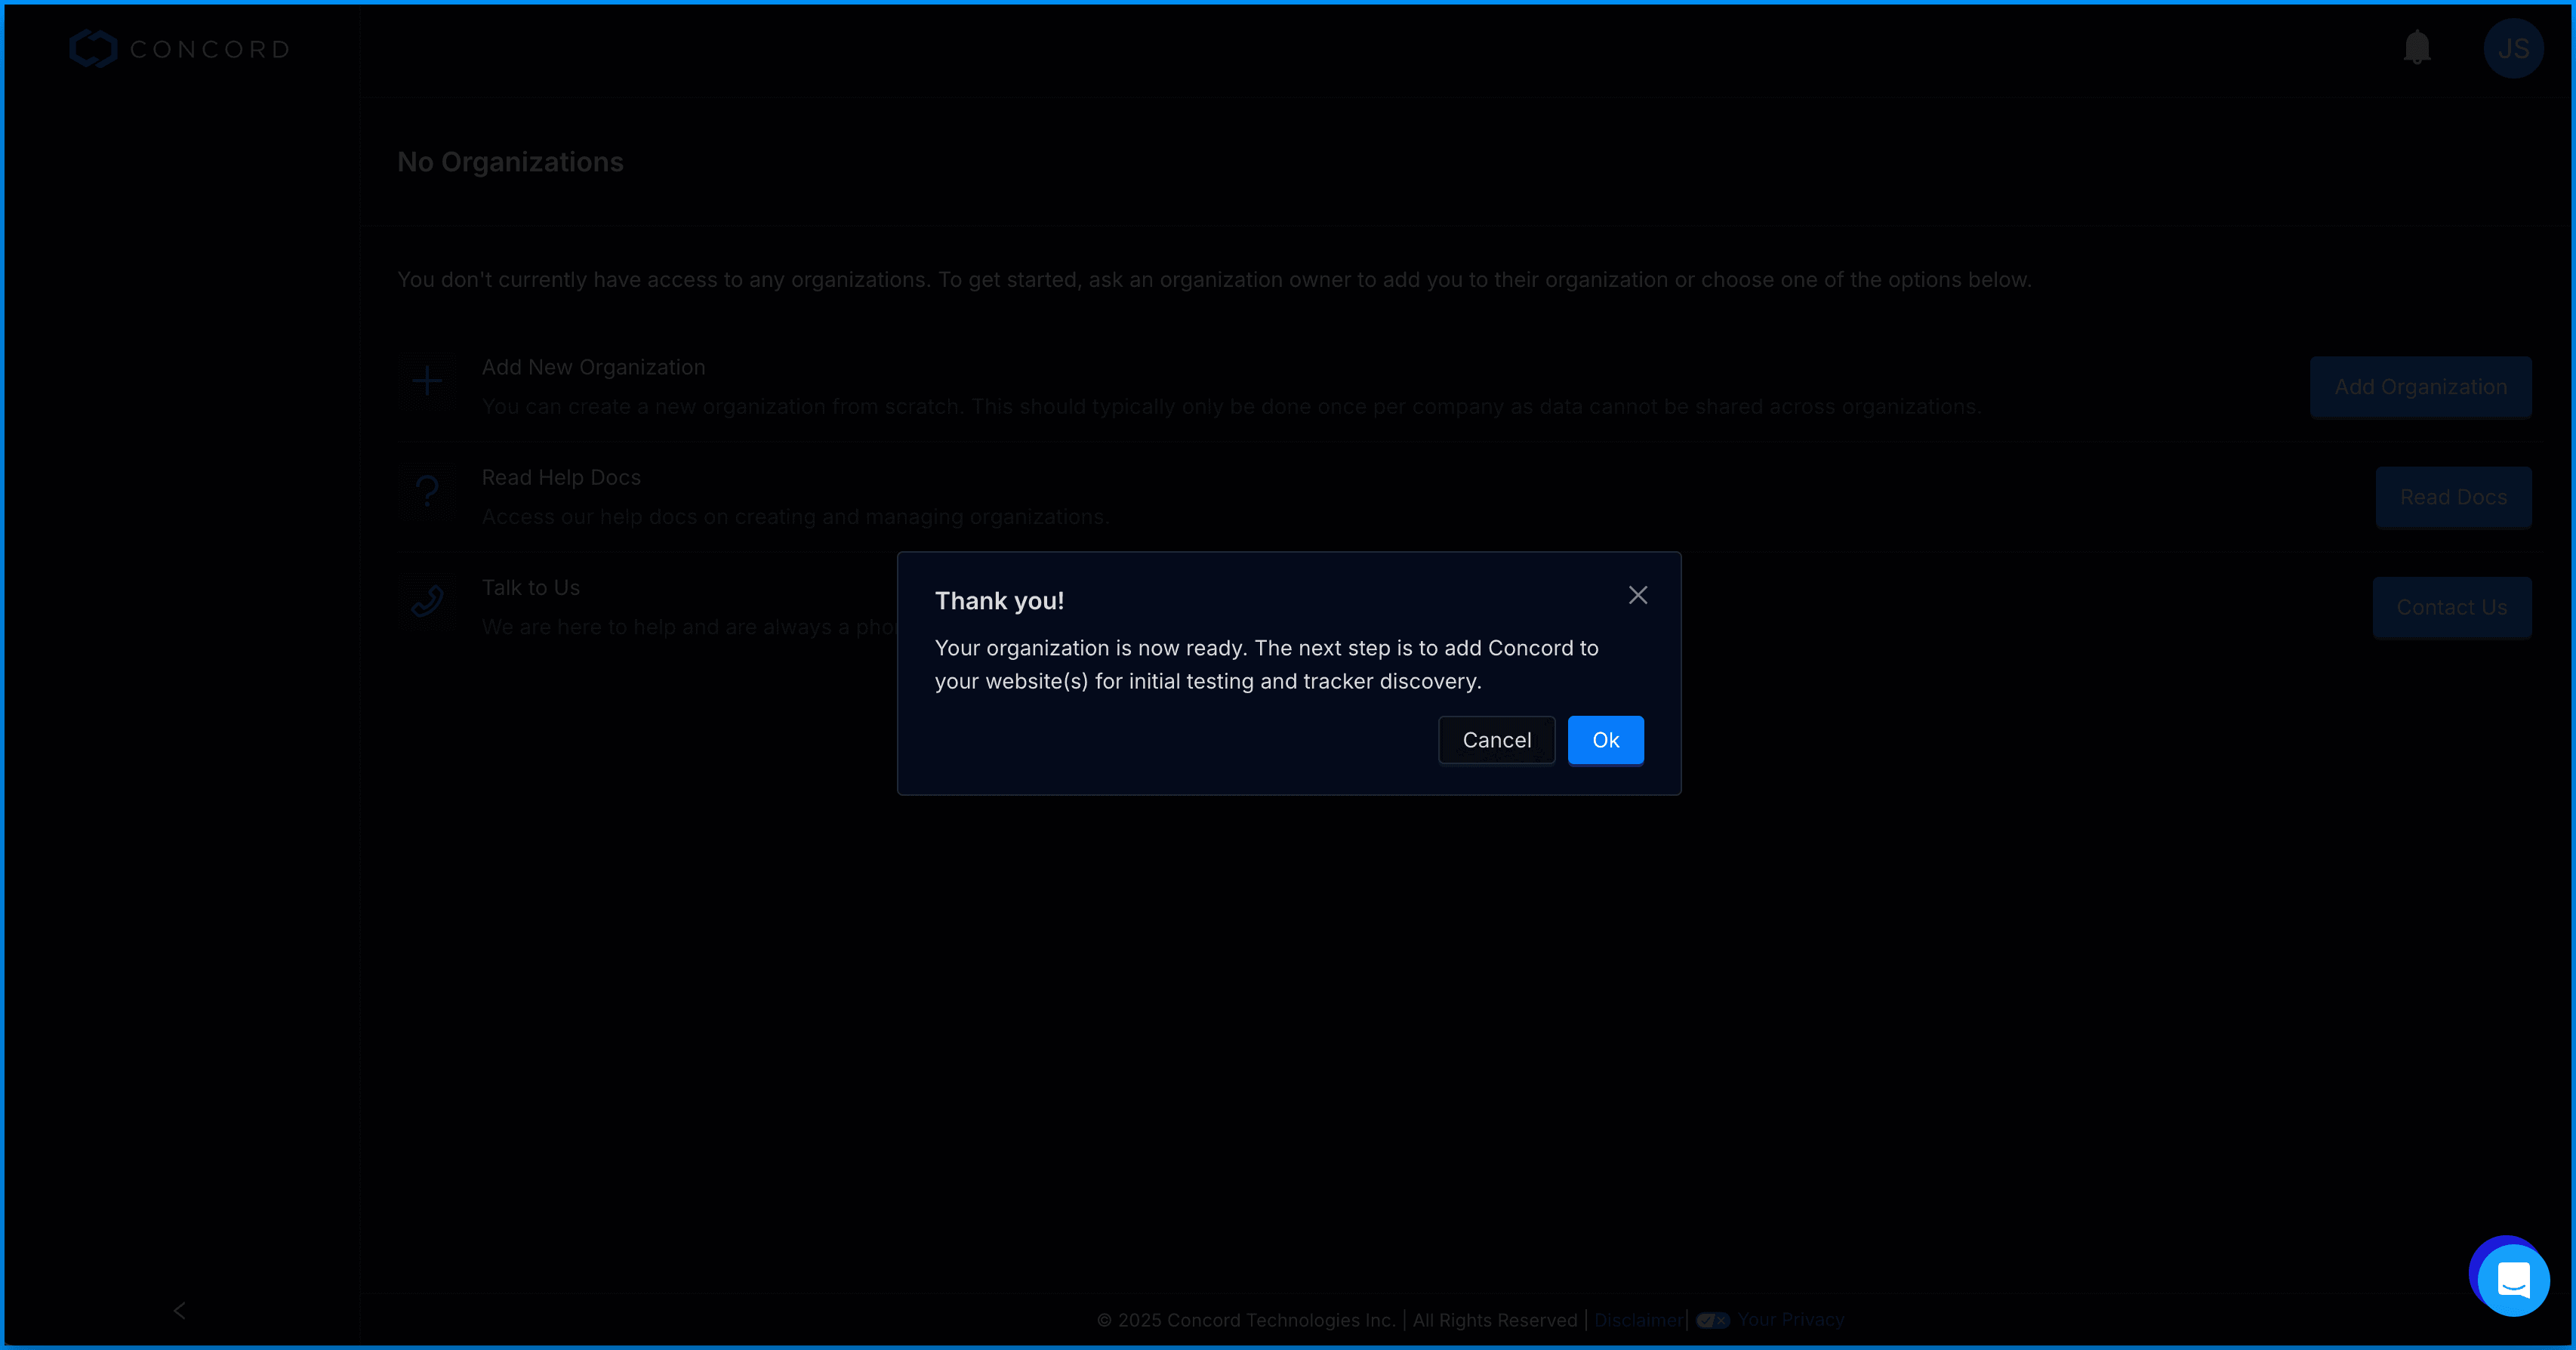
 Upon completing the wizard you will see the below confirmation message. Click Ok to review your integration settings and view your direct embed code.
Integrations & Installing Concord
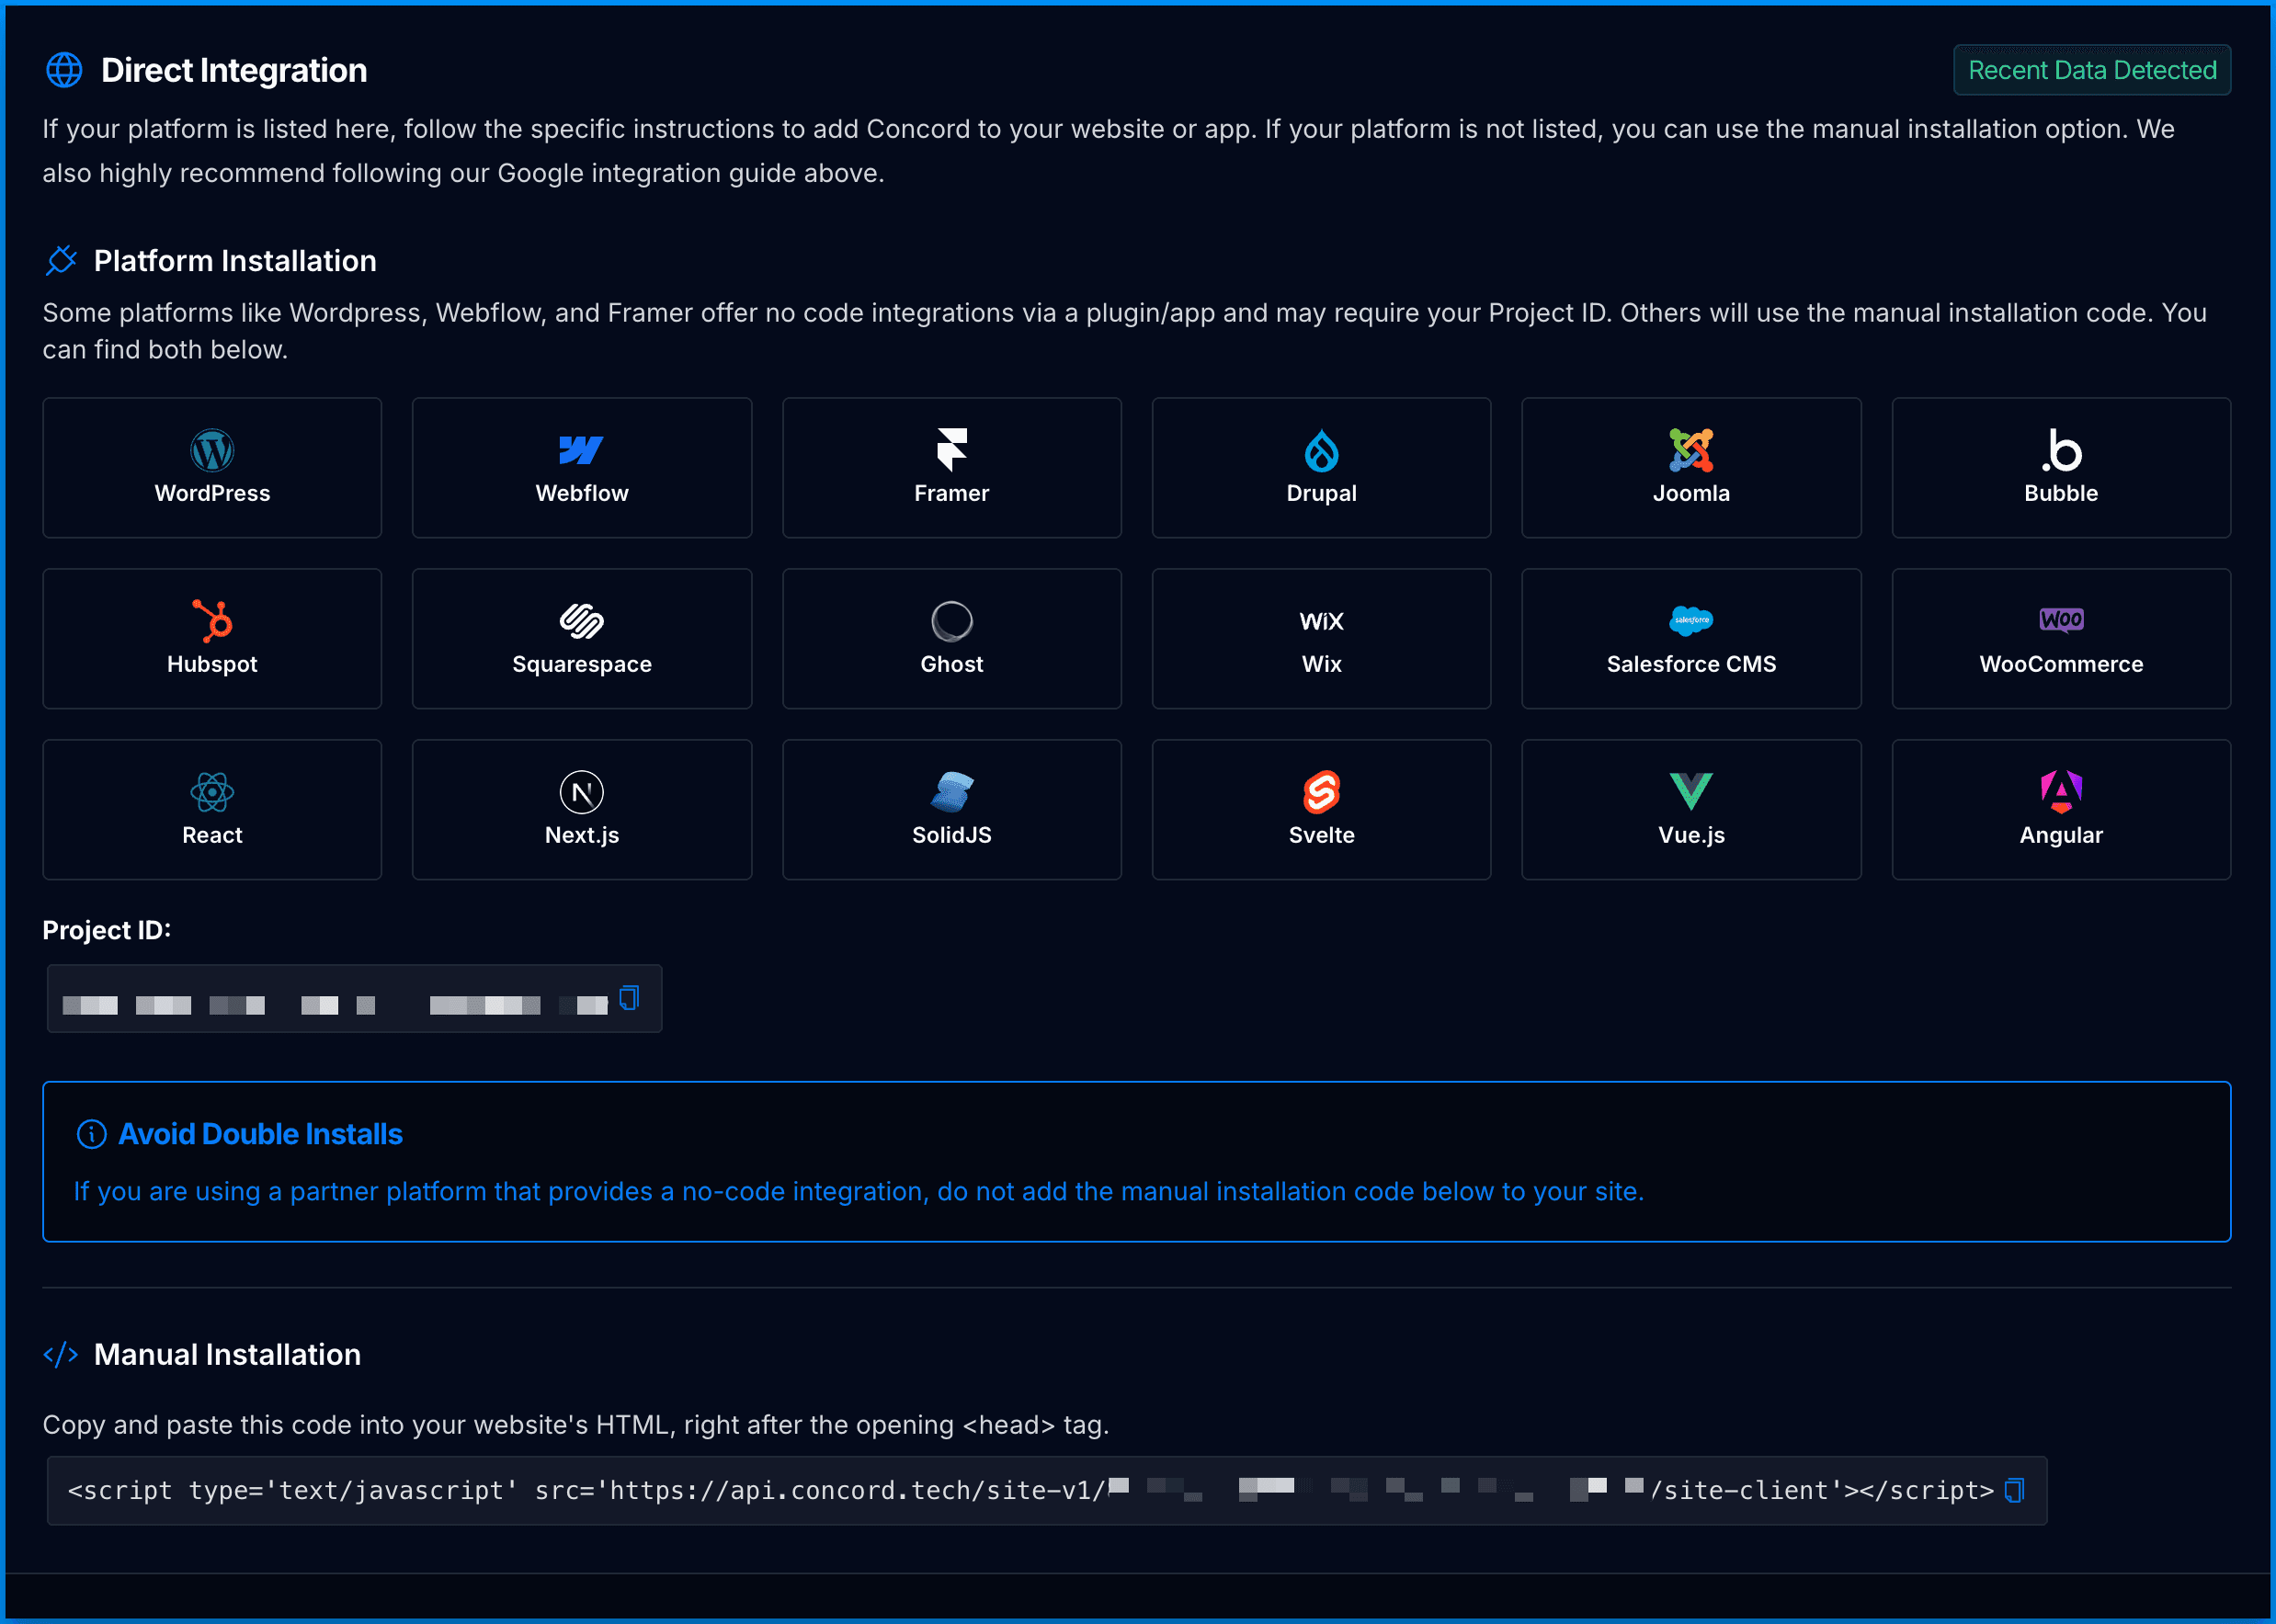
On the Integrations → Install Concord page, we provide a number of platform specific guides and integration options to make it easy to install Concord in your website or application.
To learn more about adding concord to your website, you can also refer to this document: Adding Concord to Your Website
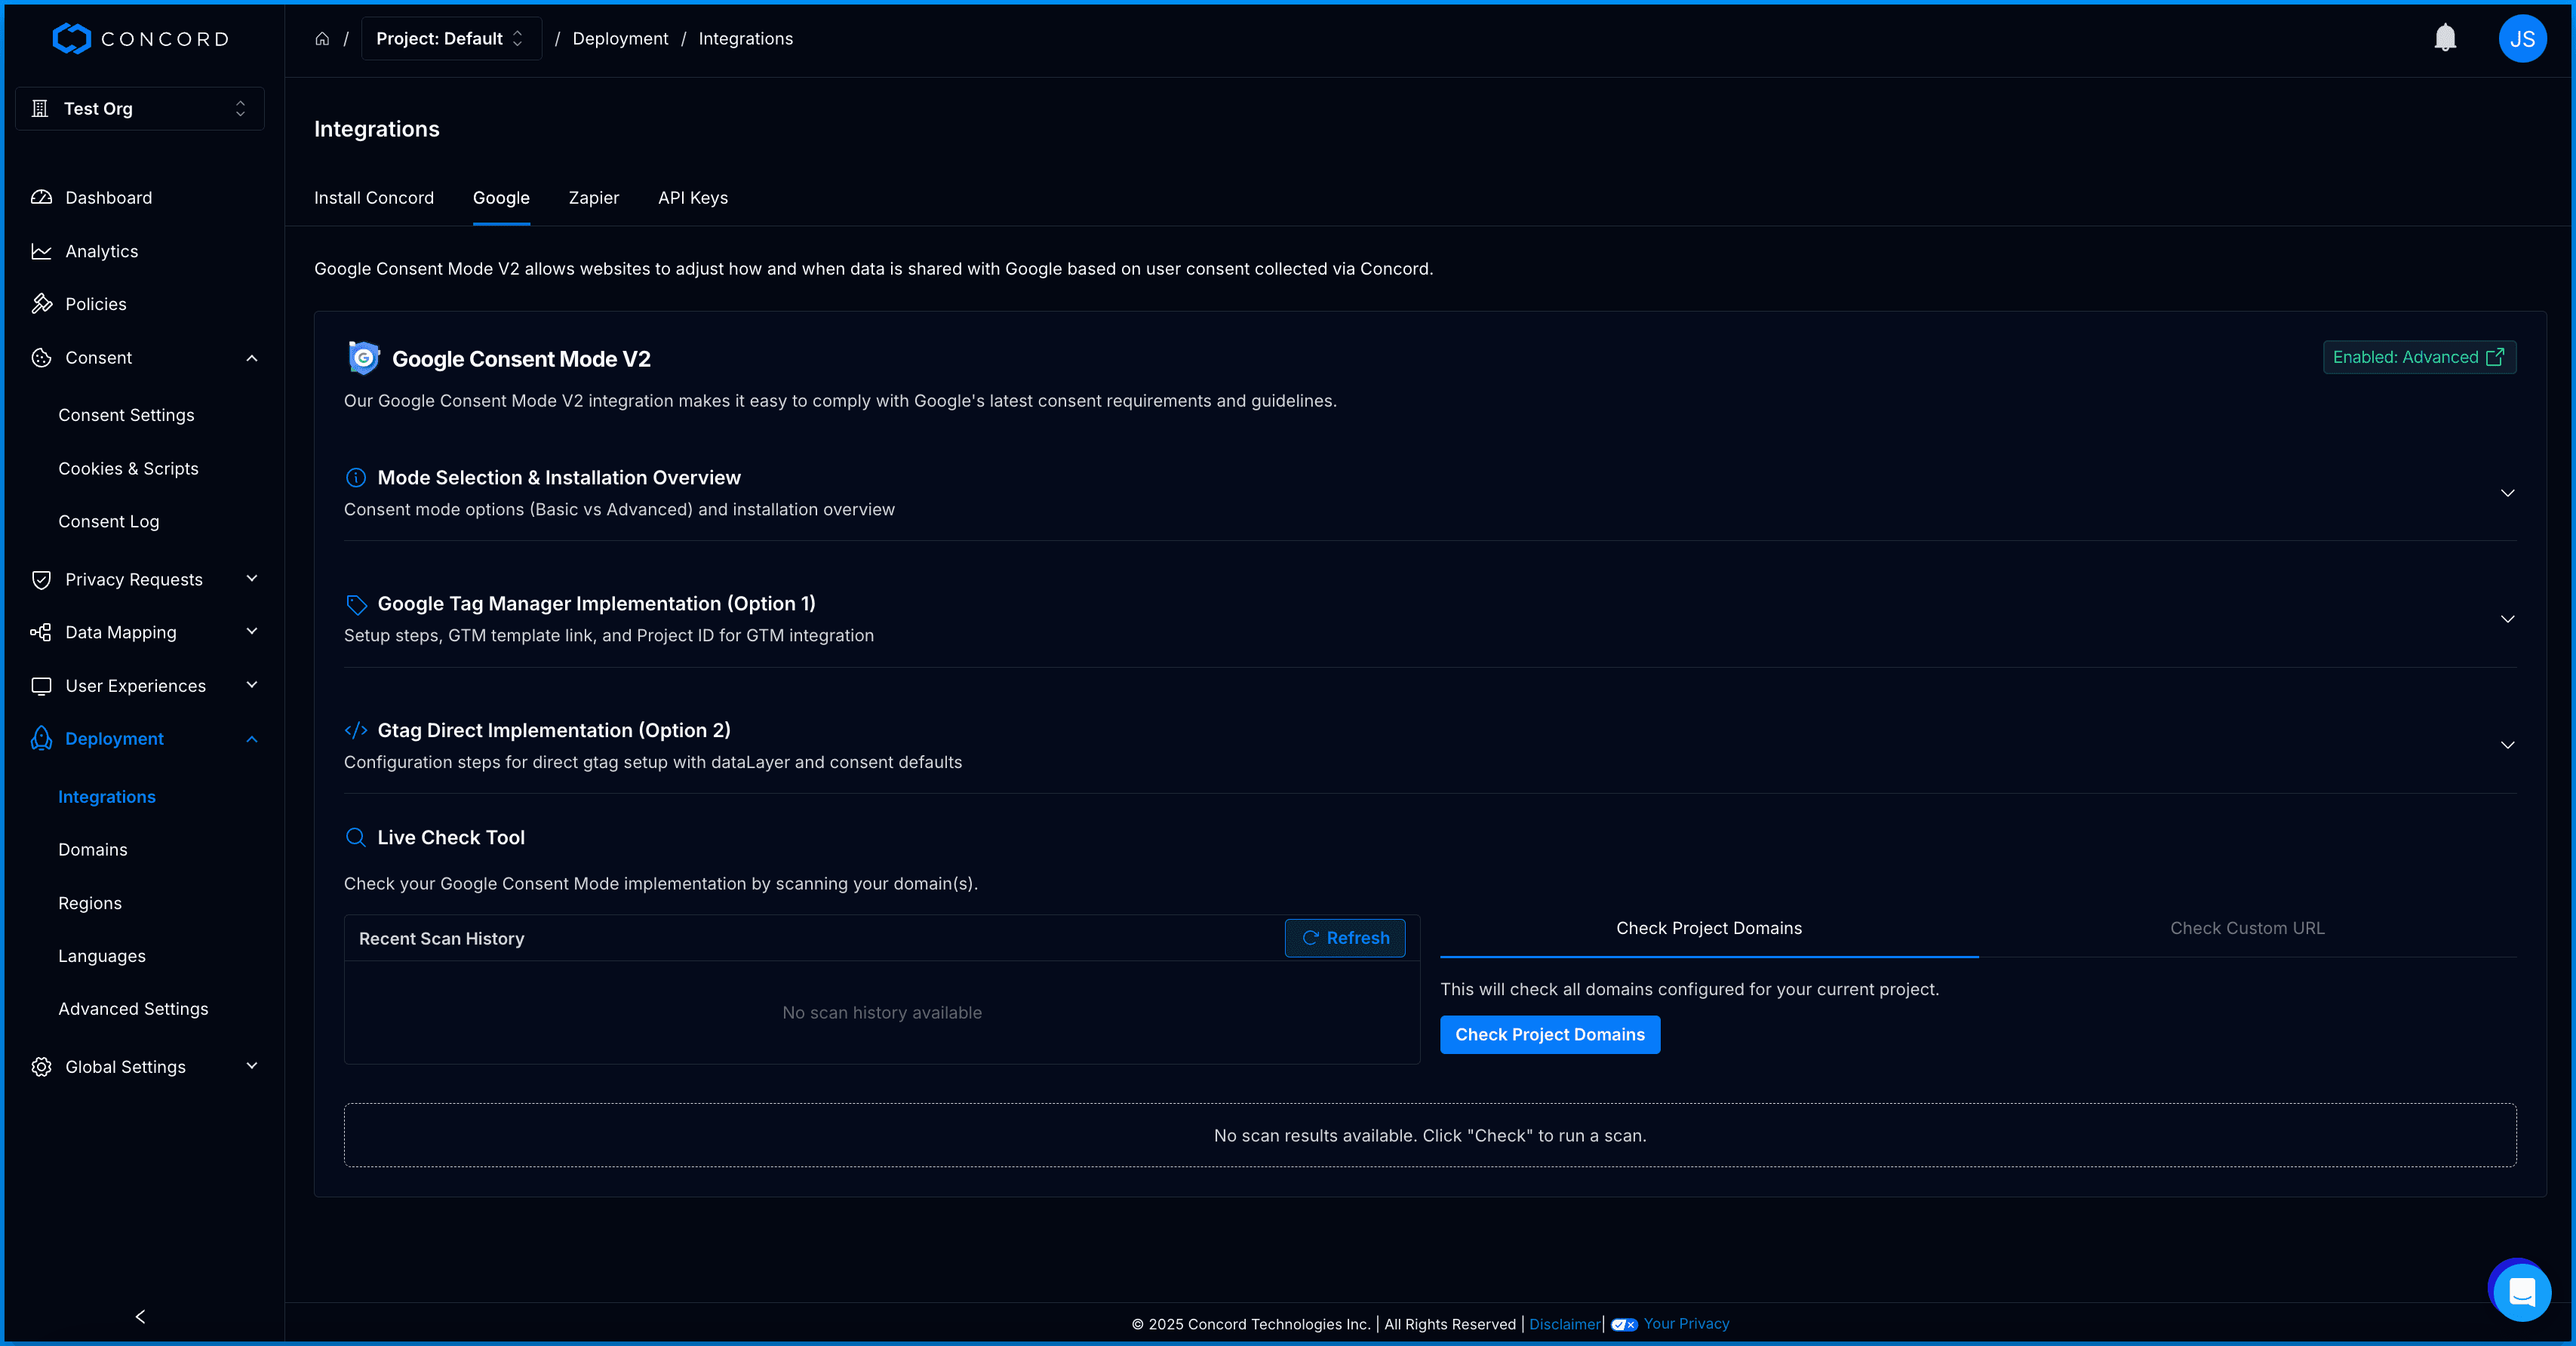
If you utilize Google services like Google Analytics, Google Tag Manager, or Google Ads, we also recommend configuring and verifying Google Consent Mode V2, which allows you to adjust how and when data is shared with Google based on user consent collected via the Concord Consent Banner & Privacy Center.
To learn more about Google Consent Mode V2 and the recommended settings, please refer to this document: Understanding & Configuring Google Consent Mode GCM V2
User Experiences & Branding
Next, navigate to the User Experiences section to configure the following items:
- Branding allows you to easily modify your preferred branding for Concord’s user experiences, including the Consent Banner, the Privacy Center, the Floating Button, and Placeholders. Branding settings are per project and are shared across user experiences. To adjust your settings go to the User Experiences → Branding section, upload your company logo, set the primary and secondary colors, select your font, and configure your preferred button and card radius settings to align with your own brand guidelines.
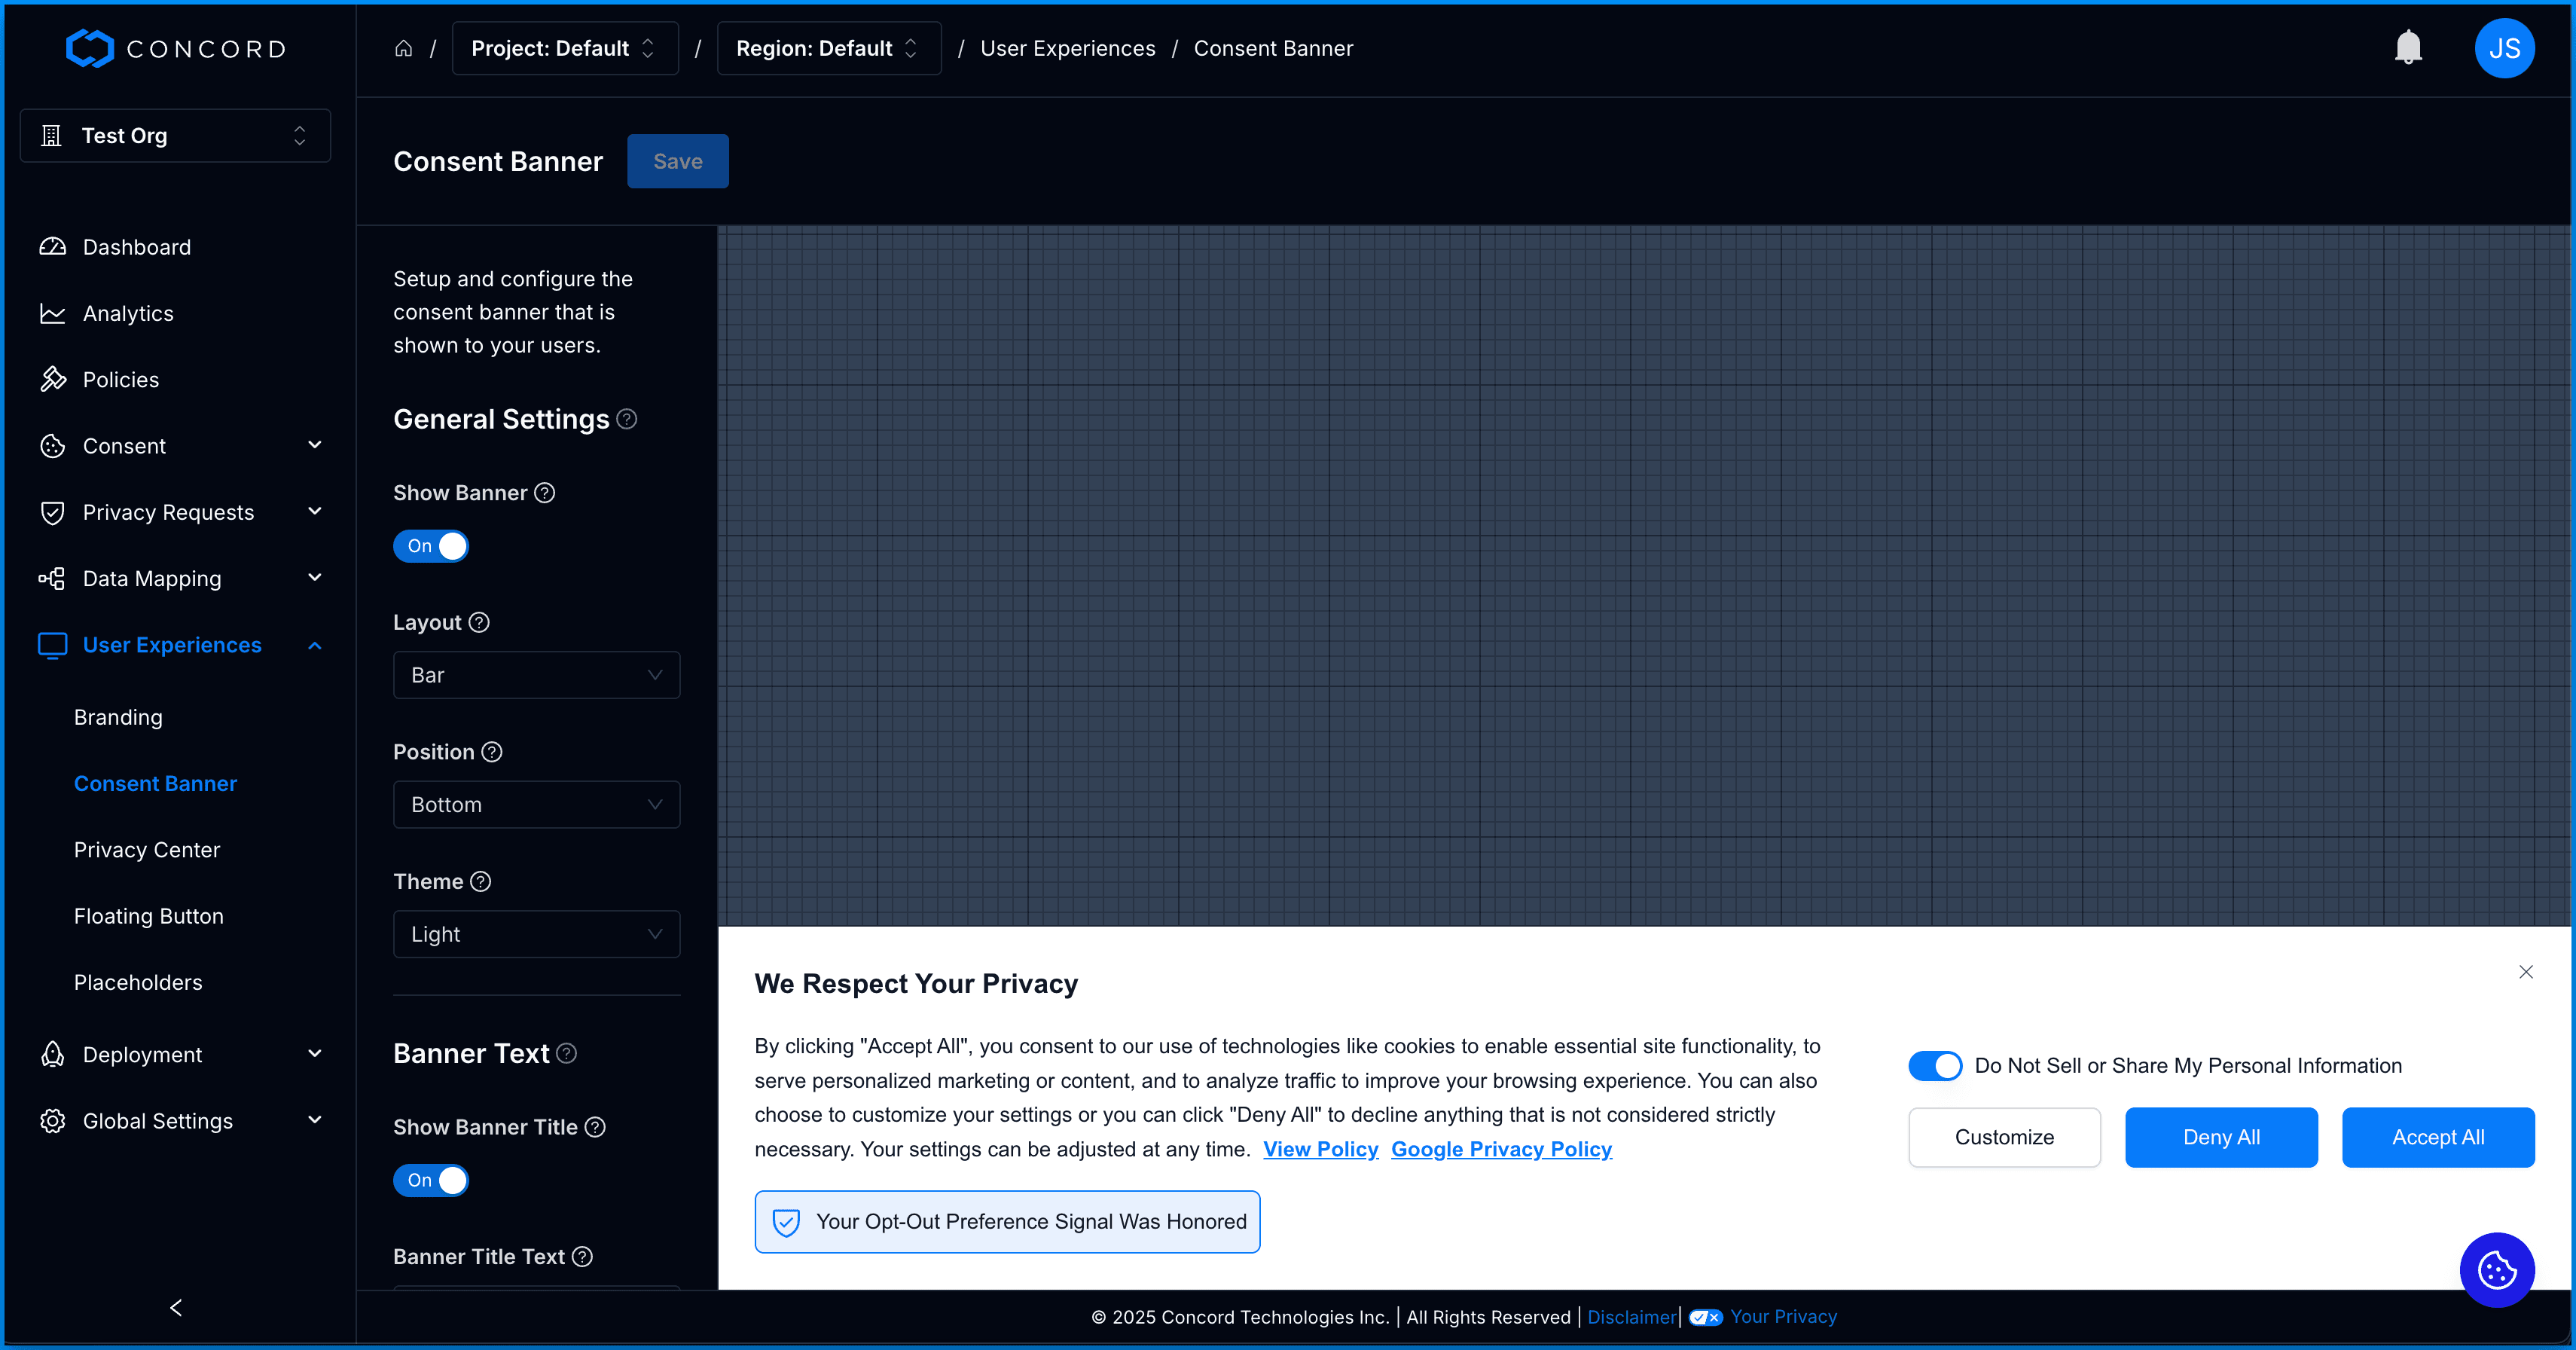
- The Consent Banner shows when a person first visits the site and it provides an interface for them to express their consent preferences. In the Concord app, you can choose if the banner is shown or not, where you want to display the banner on the webpage, the banner theme (light, dark, or a branded background using your secondary color), the buttons shown, and the desired copy for the different elements (e.g. header, body, link text, button names).
- Privacy Center is a branded experience where visitors can access privacy policies, view and edit the types of tracking they have provided consent for, and make certain privacy related requests (view, change, delete, and do not sell). Here you can show or hide various modules, including privacy disclosures and consent history, and you can customize the copy throughout the Privacy Center. Please note that Privacy Requests and Do Not Sell form requests are enabled by default. If you want to turn this functionality off, you can find these controls on the Privacy Settings page under the Privacy Requests section.
- The Floating Button appears in a convenient location on the site to quickly navigate to the Privacy Center. Floating Button settings include enablement of the button, the location of the button, the button theme (light, dark, or branded using your secondary color), the button type (tab with text or circle button), and button options (text for the tab option or icon for the circle button type. Alternatively, you might elect to hide the Floating Button, while providing a direct link to the Privacy Center in your footer or other site navigation.
- The Placeholders section allows you to setup and configure the placeholders that are shown to your users when content is blocked without consent.
Deployment & Testing
- Deploy Concord on your website for testing as outlined on the Deployment → Integrations → Install Concord page.
- Classify cookies and trackers that are detected by Concord via our automatic tracker detection functionality. Review and edit the categories as needed on the Consent → Cookies & Scripts page.
- Unclassified cookies should be classified whenever possible and, as noted earlier, other ignored items (scripts, iFrames, links, images, etc.) should be reviewed and any items that interact or store customer data should be classified. Many ignored items can safely stay in the ignored category, but should be reviewed to ensure that nothing falls between the cracks.
Go Live in Production
- Change Blocking Mode on the Consent Settings page from Discovery to Strict (recommended) or Permissive (allows Unclassified cookies without consent so this is not recommended in most cases). Note that when this change is made, Concord will begin blocking scripts and cookies based on user consent.
- If the previous deployment and testing was done on a separate testing/staging website, make any other desired production changes to your configuration and deploy the same code you used in testing to your production web site.
- Run through another check to make sure core visitor flows and branding look and function as expected.
- In the Concord app, navigate to User Experiences → Consent Banner and ensure that the Show Banner toggle switch is ON. The Concord Consent Banner will now be visible on your organization’s website.
- Do the same for the Floating Button if enabling it on your site (recommended).
- Review several pages to ensure the Consent Banner, Privacy Center, Floating Button, and Placeholders all work as expected. Verify that the colors, logo, and copy look correct. If your legal, privacy, or marketing team would like some changes made, updates can be quickly made in the Concord app without having to change any code on the site.
What’s next?
- Ready to start thinking about additional privacy compliance and governance? Check out managing privacy requests and data mapping.
- Want to customize the consent settings and user experiences based on a user’s geographical location? Check out this consent banner configuration help document.
- Subscribe or follow our Blog to stay up to date on the latest industry trends and cool new Concord releases. If you have any questions, please reach out to our support team at support@concord.tech or, for Google specific support, google@concord.tech. You can also visit our Support Commitment guide for a full list of support options including dedicated support with Google Consent Mode setup and troubleshooting.